Body Strengthening and Pilates for Increased Mobility
Body strengthening combined with Pilates is a powerful way to improve your physical strength and endurance. Find out more today.
Pilates Power: Easing Inflammation with Strength, Integrative Recovery, and Daily Wellness Tips
Hey, fitness fans and wellness warriors! Imagine your body as a high-performance engine where inflammation revs up like a warning light—essential for signaling issues, but a problem if it overheats and stalls your progress. Now, picture Pilates, the elegant exercise system inspired by a dancer’s vision, cruising in like a smooth gear shift to restore balance. Pair it with body-strengthening exercises and integrative recovery strategies, and you’ve got a powerhouse team to tackle musculoskeletal woes and kickstart your wellness journey. In this comprehensive guide (over 5,000 words of clear, engaging insights), we’ll explore how Pilates and strength exercises combat inflammation, counter environmental stressors, and work with integrative expertise to keep you moving pain-free. We’ll include at-home or gym-friendly exercises tailored for athletes, add a dash of humor for fun, and draw on the clinical wisdom of Dr. Alexander Jimenez, DC, APRN, FNP-BC, a leading practitioner in El Paso. Whether you’re a runner dodging knee pain, a weightlifter recovering from a strain, or just battling back pain, this is your guide to feeling fantastic—no fancy equipment needed (though a mat helps)!
We’ll keep it simple for a high school reading level, packed with practical tips and science-backed insights. If inflammation’s slowing your gains, Pilates and integrative recovery might be your ticket to freedom. Let’s get moving!
What Is Inflammation and Why Does It Matter?
Let’s start with the basics. Inflammation is your body’s natural defense system—like a fire alarm blaring when trouble strikes. When you sprain your ankle during a soccer match or fight off a virus, your immune system sends white blood cells, chemicals, and fluids to the scene, causing redness, swelling, warmth, or pain (Cleveland Clinic, n.d.). In a healthy body, this is a clutch move: it traps germs, clears damaged tissue, and starts healing while keeping things balanced, known as homeostasis (Yale Medicine, 2020).
Picture this: You strain your lower back during a heavy deadlift session. Inflammation rushes in, bringing nutrient-rich blood to mend the damage. Without it, injuries might linger like a bad gym playlist on repeat, and infections could bench you. It regulates immunity, helping you fend off everyday germs, and supports muscle repair after intense training—think a marathon runner recovering from shin splints or a crossfit athlete healing micro-tears in muscles (Vanderbilt Medicine, 2015). But when it hangs around too long, it’s linked to serious issues like arthritis, heart disease, or chronic pain (Yale Medicine, 2022). So, inflammation’s your body’s pit crew—great at quick fixes for sprains or strains, but trouble if it causes a breakdown.
Humor break: Why does inflammation make you swell? It’s your body throwing a “stop the invaders” block party—complete with puffiness—but someone’s gotta clean up afterward!
References
- Cleveland Clinic. (n.d.). What is inflammation? Types, causes & treatment. https://my.clevelandclinic.org/health/symptoms/21660-inflammation
- Yale Medicine. (2020). Inflammation: A double-edged sword for the immune system. https://medicine.yale.edu/news/yale-medicine-magazine/article/inflammation-a-double-edged-sword-for-the-immune-system/
- Yale Medicine. (2022). How inflammation affects your health. https://www.yalemedicine.org/news/how-inflammation-affects-your-health
- Vanderbilt Medicine. (2015). The good, the bad and the ugly of inflammation. https://medschool.vanderbilt.edu/vanderbilt-medicine/the-good-the-bad-and-the-ugly-of-inflammation/
Acute vs. Chronic Inflammation: The Difference
Let’s break it down into two rounds: acute and chronic inflammation. Acute inflammation is the quick hitter—like a sprint workout, intense but over in hours or days (Harvard Health, 2020). Think of post-gym soreness after a tough leg day or a basketball player’s twisted ankle: swollen, tender, then gone. It’s your body’s way of rushing blood and immune cells to speed up healing, perfect for athletes recovering from a single hard session, like a soccer player shaking off a tackle bruise or a cyclist healing a scraped knee.
Chronic inflammation, though, is the endurance grind that won’t quit, lingering for months or years and potentially wearing down tissues (Cleveland Clinic, n.d.). Triggers include autoimmune issues, persistent irritants, or unresolved acute injuries, which can fuel conditions like chronic joint pain or muscle stiffness (NCBI, 2023). For athletes, this might mean overtraining leading to persistent tendonitis in a runner or shoulder strain in a swimmer.
Key differences: Acute is short, sweet, and restorative; chronic is long, draining, and destructive. Acute supports repair through better blood flow and cleanup (Physiopedia, n.d.). Chronic saps energy, causing ongoing aches and higher disease risks (Encompass Health, 2021). Giggle moment: Acute inflammation is a quick HIIT session—sweaty but done. Chronic? It’s an ultra-marathon with no medal, just fatigue!
This understanding shapes recovery: Ice for acute flares, holistic strategies like Pilates for chronic battles.
References
- Cleveland Clinic. (n.d.). What is inflammation? Types, causes & treatment. https://my.clevelandclinic.org/health/symptoms/21660-inflammation
- Harvard Health. (2020). Understanding acute and chronic inflammation. https://www.health.harvard.edu/staying-healthy/understanding-acute-and-chronic-inflammation
- Encompass Health. (2021). Acute inflammation vs. chronic inflammation. https://www.encompasshealth.com/health-resources/articles/acute-inflammation-vs-chronic-inflammation
- NCBI. (2023). Chronic inflammation – StatPearls. https://www.ncbi.nlm.nih.gov/books/NBK493173/
- Physiopedia. (n.d.). Inflammation acute and chronic. https://www.physio-pedia.com/Inflammation_Acute_and_Chronic
Environmental Factors Fueling Inflammation and Musculoskeletal Issues
Your environment isn’t just the gym—it’s a major player in inflammation and musculoskeletal problems. Things like pollution, diet, stress, and training habits can turn up the heat (Nature Medicine, 2019). Air pollution pumps toxins into your system, triggering oxidative stress and inflammation that can tighten muscles or strain joints, like a runner breathing in smog during a city marathon (The University of Queensland, n.d.). It’s like your body’s battling a sneaky workout saboteur.
Diet’s a big deal: Processed foods, sugars, and unhealthy fats spark inflammation, which can worsen soreness or aggravate strains, while antioxidant-rich foods like greens or berries calm it down (PMC, 2019). For athletes, a junk-filled post-game snack could prolong recovery from a soccer match or weightlifting session. Toxins from pesticides or metals can disrupt gut health, leading to systemic inflammation that stresses your spine and joints (ScienceDirect, 2013). Stress spikes cortisol, fueling inflammation and causing muscle tension that exacerbates shoulder pain in a tennis player or back pain in a crossfit athlete (Northwestern University, 2017).
Other culprits: Smoking irritates tissues, excess weight puts pressure on joints and sends inflammatory signals, and poor form during workouts or repetitive tasks strains your spine, leading to chronic discomfort (PMC, 2019). Early-life exposures, like poor nutrition, can even set the stage for adult musculoskeletal issues, like a young athlete developing joint problems later (Northwestern University, 2017). In conditions like overuse injuries, environmental triggers amplify pain and inflammation (CGH Journal, 2024). Laugh alert: Overtraining without recovery? It’s like your muscles throwing a tantrum, demanding a break from an inflammation-inducing sweat session!
Fight back with smart choices like better nutrition, stress relief, or movement-based practices like Pilates—more on that next.
References
- PMC. (2019). Impact of nutritional and environmental factors on inflammation. https://pmc.ncbi.nlm.nih.gov/articles/PMC6652064/
- Nature Medicine. (2019). Chronic inflammation in the etiology of disease across the life span. https://www.nature.com/articles/s41591-019-0675-0
- ScienceDirect. (2013). Causes and consequences of chronic systemic low-grade inflammation. https://www.sciencedirect.com/science/article/pii/S0955286313000545
- The University of Queensland. (n.d.). The dangerous century. https://stories.uq.edu.au/imb/the-edge/inflammation/the-dangerous-century/index.html
- Northwestern University. (2017). How babies’ environments lead to poor health later. https://news.northwestern.edu/stories/2017/july/babies-environments-poor-health-later-study/
- CGH Journal. (2024). Environmental factors associated with risk of Crohn’s disease development. https://www.cghjournal.org/article/S1542-3565%2824%2900450-6/fulltext
Pilates: Your Body’s Anti-Inflammatory Champion
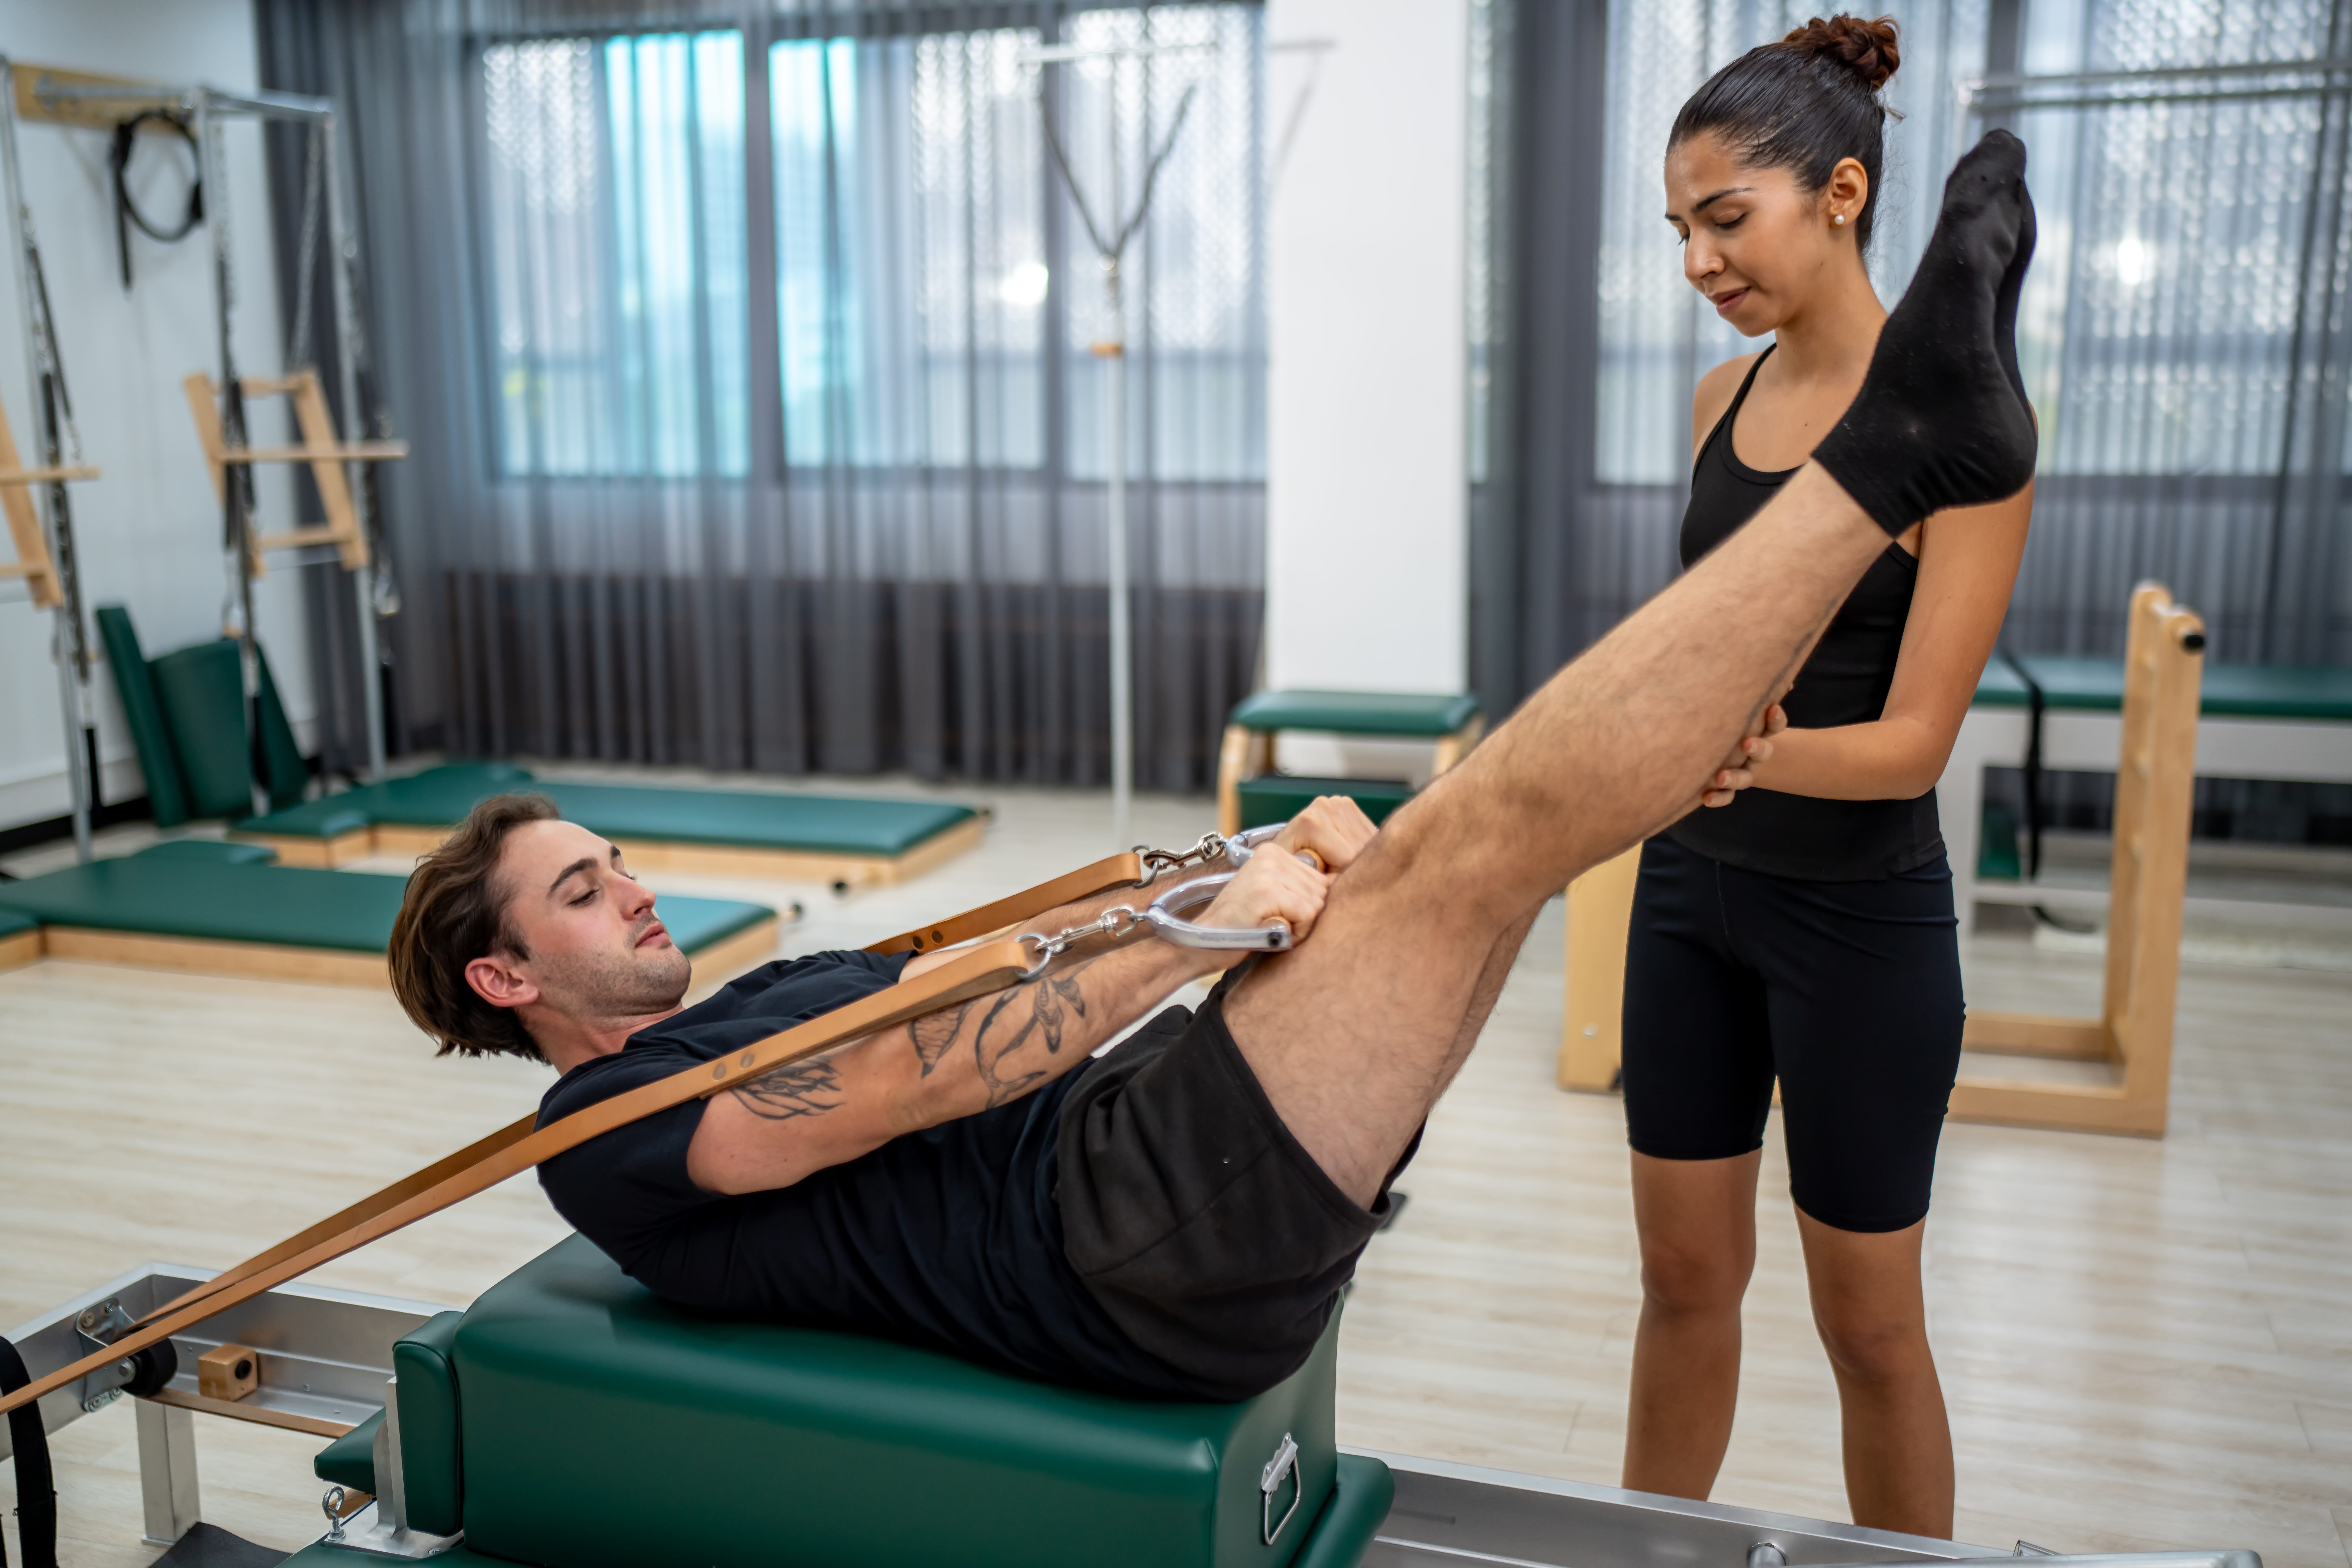
Pilates isn’t just for fitness buffs or dance studios—it’s a powerhouse for anyone, especially athletes, aiming to ease inflammation and strengthen their body without pain. Created by Joseph Pilates, this exercise system targets your “powerhouse”—the core, hips, glutes, and lower back—building a strong, flexible foundation for your spine (El Paso Back Clinic, n.d.). Unlike intense workouts that might leave you aching, Pilates uses controlled, flowing movements to stretch and strengthen muscles, making it perfect for reducing musculoskeletal stress.
How does it tackle inflammation? Pilates boosts circulation, delivering oxygen to tissues to reduce swelling, and strengthens deep stabilizing muscles to support joints, easing strain from environmental stressors like poor posture or repetitive motions (Siler, 2000). It’s low-impact, so it doesn’t aggravate inflamed areas, and its focus on mindful movement lowers cortisol, calming systemic inflammation (El Paso Back Clinic, n.d.). For athletes, this means faster recovery from high-impact sports like running, cycling, or basketball, helping a sprinter soothe shin splints or a gymnast recover from joint strain. Think of it as your body’s chill pill—ideal for everyone, from gym goers to injury recoverers.
Humor: Pilates is like a tropical vacation for your muscles—stretching, strengthening, and telling inflammation to take a siesta, no leotard required!
References
- El Paso Back Clinic. (n.d.). Pilates: Strengthen the body without pain. https://elpasobackclinic.com/pilates-strengthen-the-body-without-pain/
- Siler, B. (2000). The Pilates body: The ultimate at-home guide to strengthening, lengthening, and toning your body—without machines. Broadway Books.
Movement Medicine: Chiropractic Care- Video
How Pilates and Body-Strengthening Exercises Reduce Musculoskeletal Issues
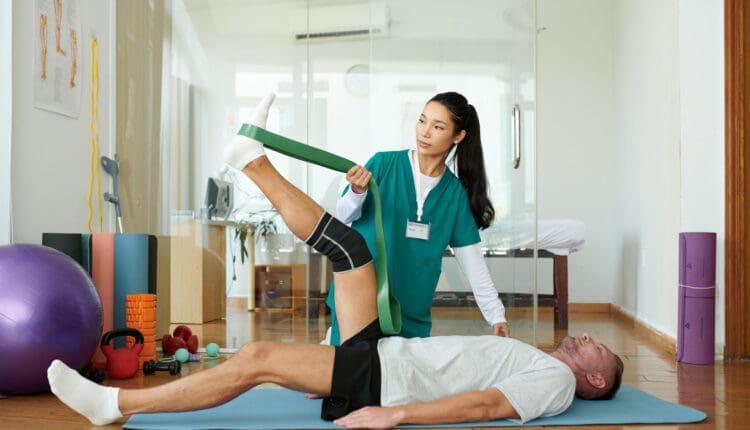
Pilates and body-strengthening exercises are like a dynamic duo for tackling musculoskeletal issues tied to inflammation. Here’s the clinical scoop: Pilates targets the core and stabilizing muscles (like the transversus abdominis and multifidus), which support the spine and reduce joint strain (Siler, 2000). This corrects imbalances from environmental stressors like prolonged sitting or repetitive tasks, which can tighten muscles and inflame tissues (PMC, 2019). Strength exercises, like bodyweight moves, build resilience in muscles and joints, reducing pain from stressors like obesity or poor ergonomics (Shah et al., 2015).
Pilates’ controlled movements improve joint mobility and muscle flexibility, helping alleviate conditions like overuse injuries or low back pain by reducing pressure on nerves and tissues (Cunha et al., 2018). Strength exercises add load-bearing capacity, countering wear-and-tear from environmental toxins or stress-induced tension (Northwestern University, 2017). Together, they enhance circulation, flushing out inflammatory markers, and promote muscle memory for better posture, key for long-term relief (El Paso Back Clinic, n.d.). For athletes, this combo prevents sports-related strains, like a tennis player avoiding shoulder inflammation, a runner dodging knee pain, or a weightlifter easing elbow strain from repetitive lifts.
Humor: Pilates is like your body’s zen master, stretching you out, while strength exercises are the tough love coach building muscle—together, they tell inflammation to hit the bench!
References
- El Paso Back Clinic. (n.d.). Pilates: Strengthen the body without pain. https://elpasobackclinic.com/pilates-strengthen-the-body-without-pain/
- Siler, B. (2000). The Pilates body: The ultimate at-home guide to strengthening, lengthening, and toning your body—without machines. Broadway Books.
- PMC. (2019). Impact of nutritional and environmental factors on inflammation. https://pmc.ncbi.nlm.nih.gov/articles/PMC6652064/
- Shah, J. P., et al. (2015). Myofascial trigger points then and now: A historical and scientific perspective. https://pubmed.ncbi.nlm.nih.gov/25724849/
- Cunha, G. M., et al. (2018). The inflammatory response in the regression of lumbar disc herniation. https://pubmed.ncbi.nlm.nih.gov/30400975/
- Northwestern University. (2017). How babies’ environments lead to poor health later. https://news.northwestern.edu/stories/2017/july/babies-environments-poor-health-later-study/
Chiropractic Recovery: A Head Start on Your Wellness Journey
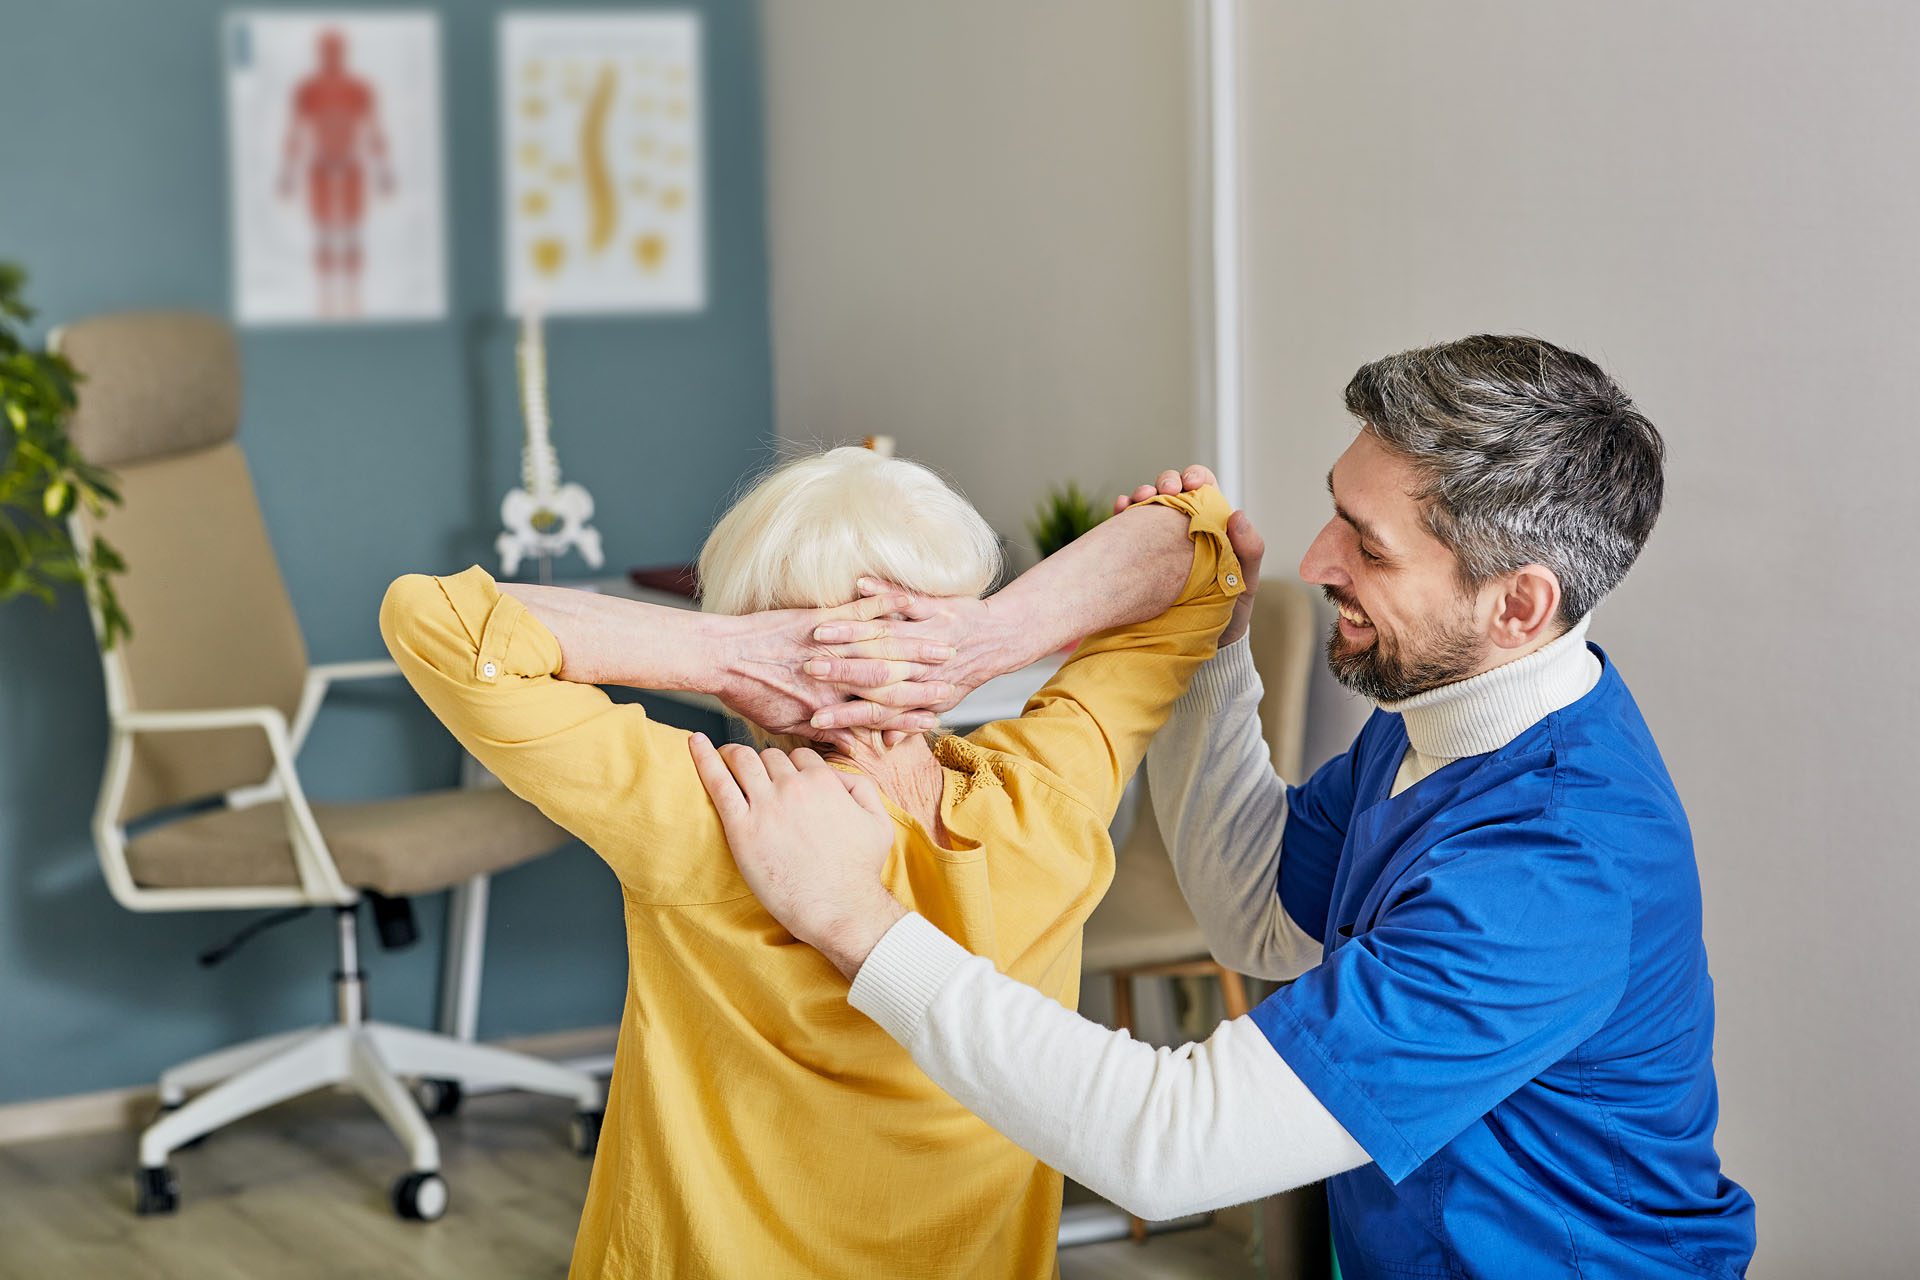
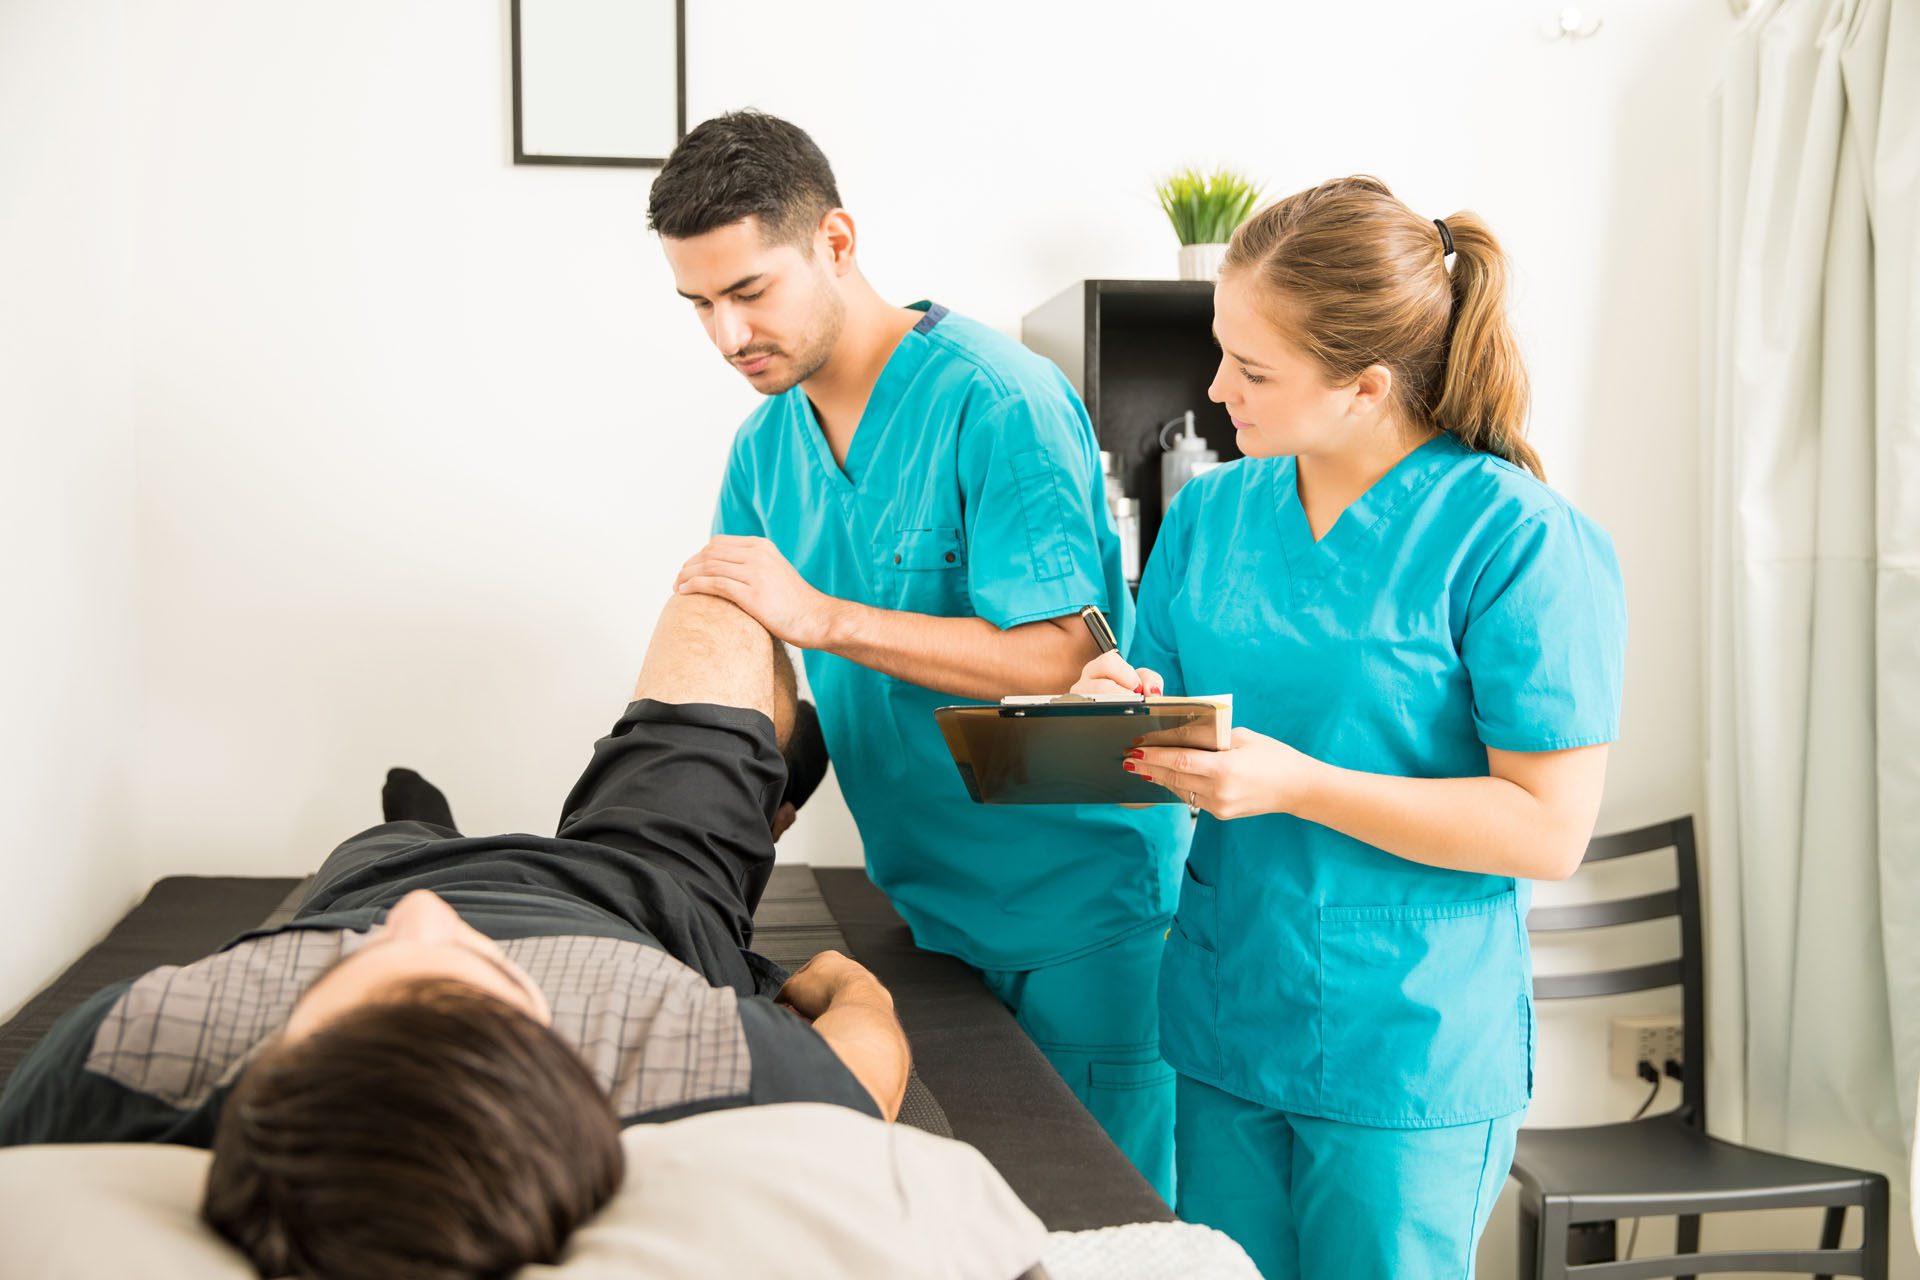
Chiropractic recovery is like the perfect warm-up for your Pilates and strength-training routine, setting you up for a pain-free, active life. Through spinal adjustments and personalized rehab, chiropractic care reduces inflammation and supports musculoskeletal health, ideal for athletes recovering from intense training (Cleveland Clinic, n.d.). This is especially effective for conditions like sciatica, neck pain, or herniated discs, where environmental stressors like poor posture or repetitive strain worsen symptoms (Western Reserve Hospital, n.d.).
Dr. Alexander Jimenez, DC, APRN, FNP-BC, a leading El Paso practitioner, emphasizes integrative care that pairs chiropractic recovery with exercises like Pilates to tackle inflammation’s root causes (DrAlexJimenez.com, n.d.). His approach, detailed at https://dralexjimenez.com/, uses advanced imaging (like MRIs) and dual-scope procedures to pinpoint injury sources, ensuring targeted treatment plans for issues like a runner’s IT band syndrome or a basketball player’s shoulder impingement. This synergy—chiropractic for alignment, Pilates for core strength, and body exercises for resilience—gives you a head start on wellness by addressing pain and preventing future flare-ups.
Humor: Chiropractic recovery is like giving your spine a motivational pep talk, while Pilates and strength exercises are the workout that gets it in top shape—your body’s ready to conquer the track or court!
References
- Cleveland Clinic. (n.d.). Chiropractic adjustment care, treatment & benefits. https://my.clevelandclinic.org/health/treatments/21033-chiropractic-adjustment
- Western Reserve Hospital. (n.d.). Understanding chiropractic care for chronic pain. https://www.westernreservehospital.org/blog/understanding-chiropractic-care-chronic-pain
- DrAlexJimenez.com. (n.d.). Injury specialists. https://dralexjimenez.com/
Dr. Alexander Jimenez’s Expertise in Injury Recovery
In El Paso, Dr. Alexander Jimenez stands out as a distinguished practitioner for personal injury victims, blending chiropractic and functional medicine expertise (LinkedIn, n.d.). His approach uses advanced imaging (like MRIs and X-rays) and dual-scope procedures—combining clinical exams with diagnostic tools—to identify injury sources, such as whiplash or herniated discs. This precision ensures targeted treatments, reducing inflammation and pain effectively (DrAlexJimenez.com, n.d.).
Dr. Jimenez also acts as a liaison between medical care and legal documentation, providing detailed reports for injury claims. His 30+ years of experience, highlighted at https://www.linkedin.com/in/dralexjimenez/, make him a go-to for accident-related injuries, using non-invasive methods like adjustments, Pilates, and strength training to restore mobility and vitality.
Humor: Dr. Jimenez is like a wellness superhero, using high-tech imaging to solve the mystery of your pain and Pilates to send it sprinting out of town!
References
- DrAlexJimenez.com. (n.d.). Injury specialists. https://dralexjimenez.com/
- LinkedIn. (n.d.). Dr. Alexander Jimenez, DC, APRN, FNP-BC. https://www.linkedin.com/in/dralexjimenez/
Pilates and Body-Strengthening Exercises You Can Do at Home or the Gym
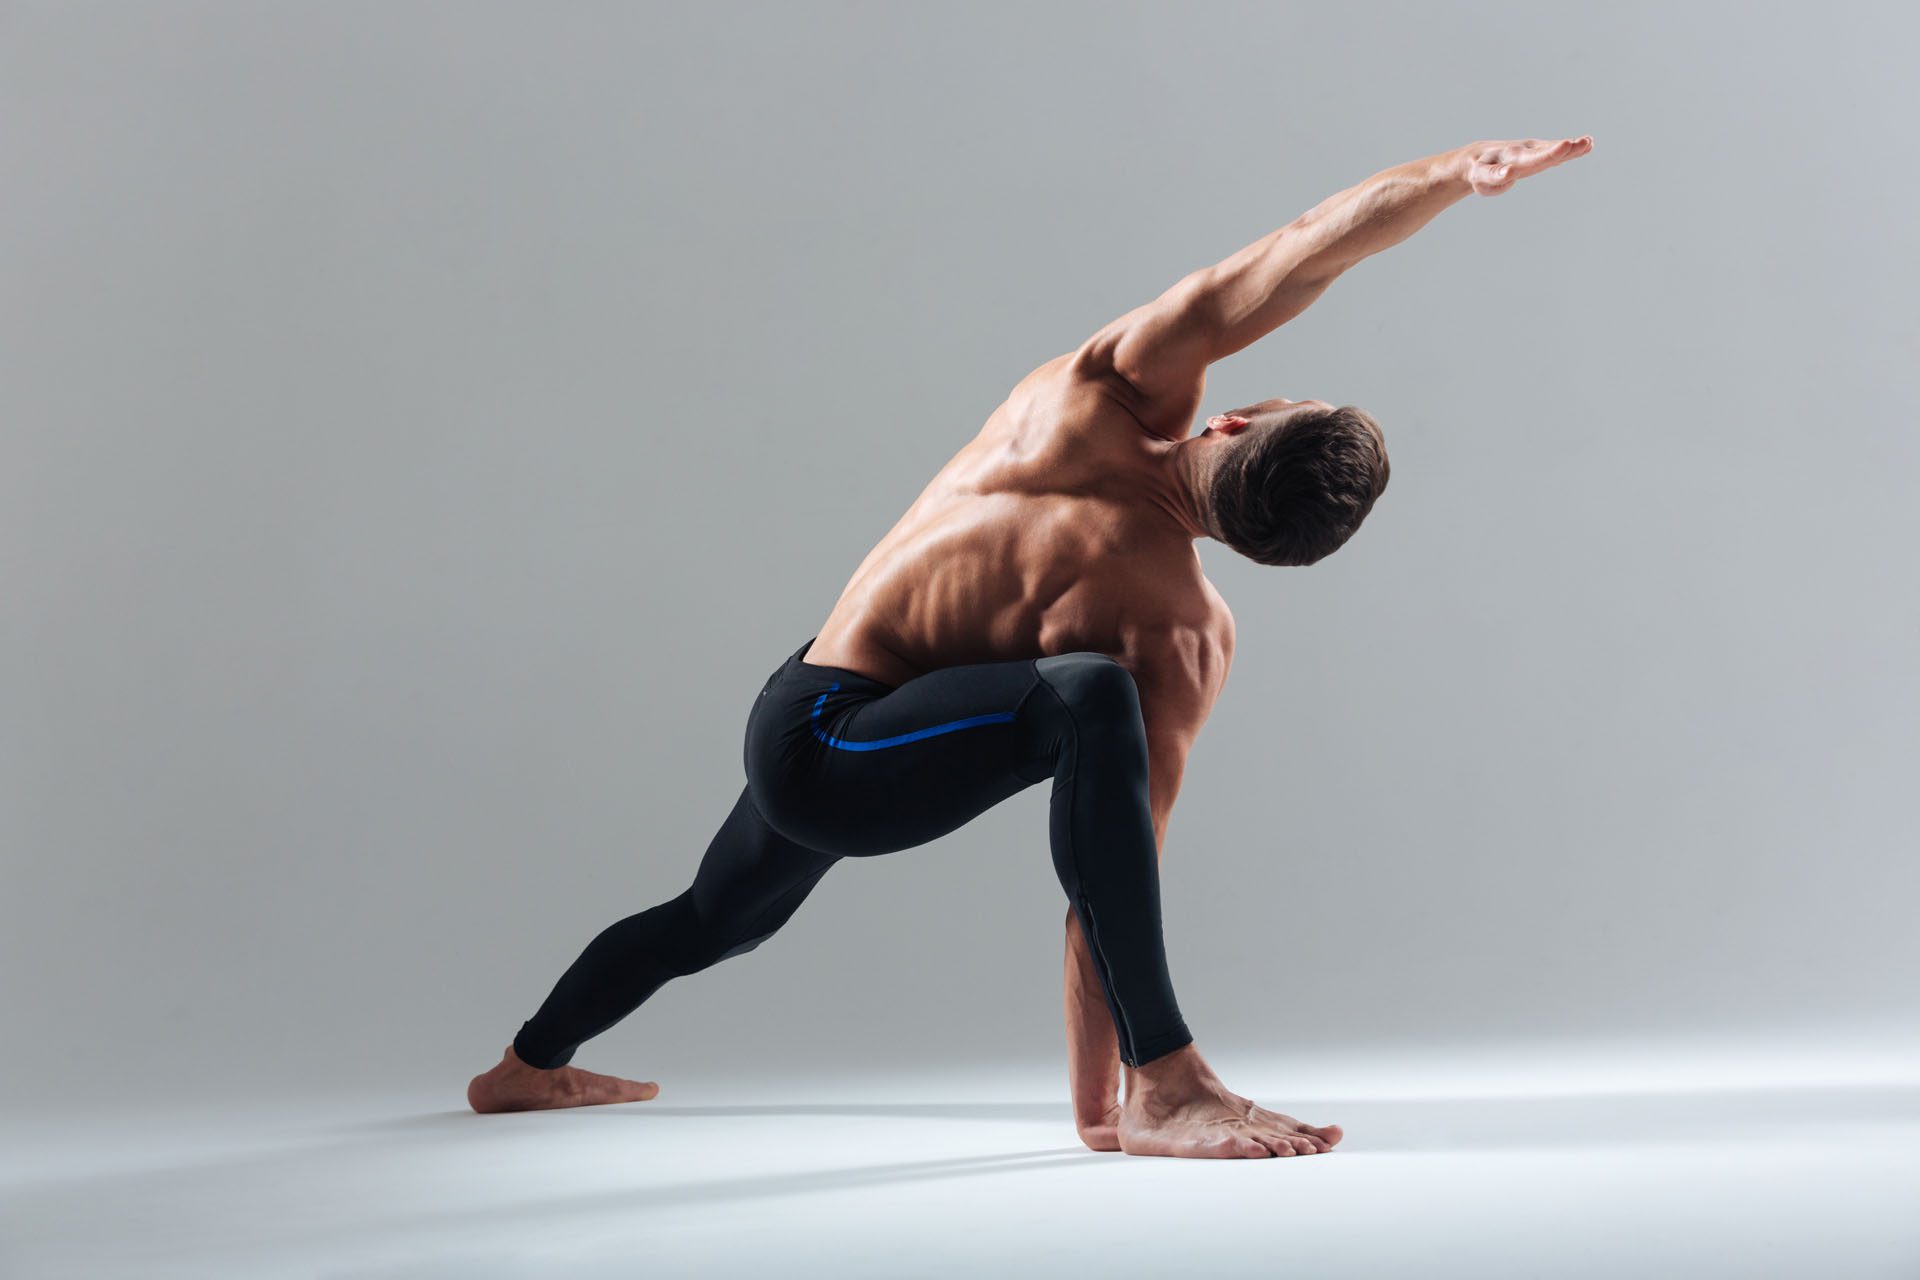
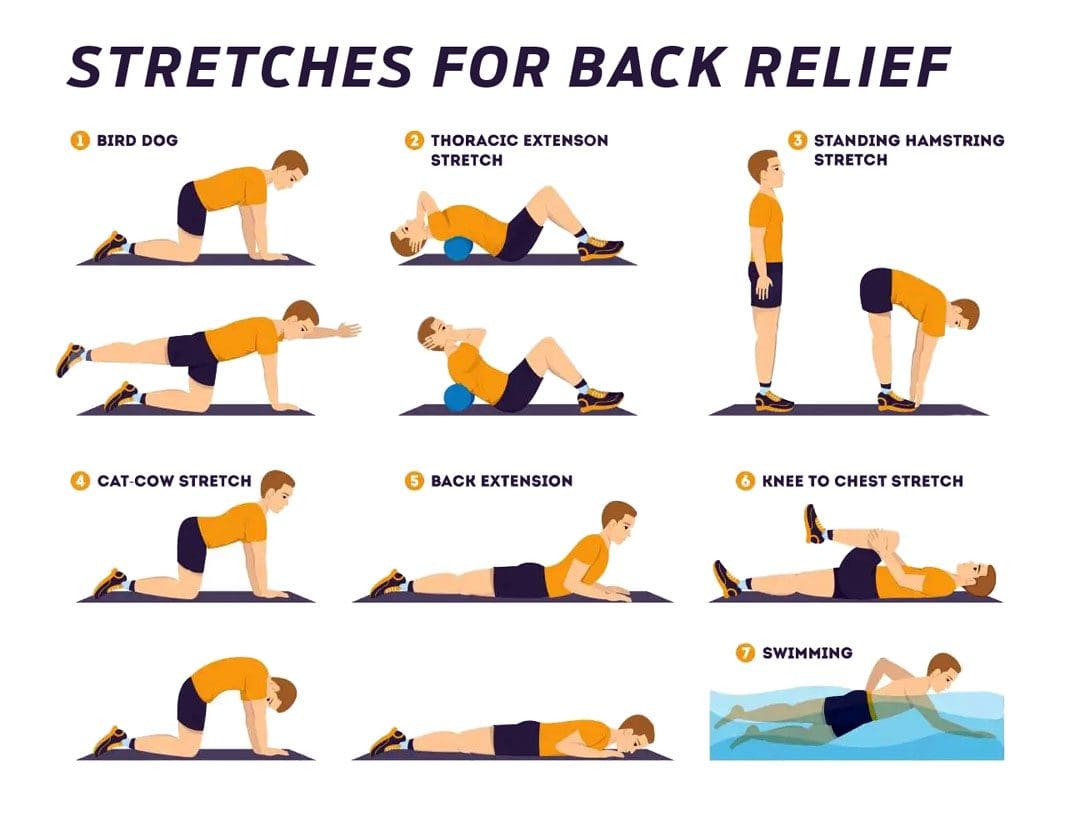
Ready to get moving? Here are five Pilates and body-strengthening exercises you can do at home or the gym to reduce musculoskeletal issues and inflammation, tailored for athletes. These are beginner-friendly, with modifications, and align with Dr. Jimenez’s insights on mobility and recovery (El Paso Back Clinic, n.d.).
1. Pilates Hundred
- What It Does: Strengthens the core, improves circulation, and reduces lower back strain, ideal for runners recovering from spinal stress.
- How to Do It: Lie on your back, legs extended or bent at 90 degrees (easier option). Lift your head and shoulders slightly, arms extended by your sides. Pump your arms up and down while inhaling for 5 counts and exhaling for 5 counts, aiming for 100 pumps. Keep your core engaged.
- Why It Helps: Boosts blood flow to reduce inflammation and strengthens the powerhouse to support your spine during high-impact sports (Siler, 2000).
- Tip: Start with 50 pumps if you’re new, and keep your lower back pressed to the mat to avoid strain.
2. Bodyweight Squats
- What It Does: Strengthens glutes, quads, and core, easing knee and hip stress for athletes like soccer players or weightlifters.
- How to Do It: Stand with feet hip-width apart, toes slightly out. Lower your hips as if sitting in a chair, keeping your chest up and knees over toes. Return to standing. Do 3 sets of 10-12 reps.
- Why It Helps: Builds lower body strength to counter posture-related inflammation and supports joint stability during explosive movements (Shah et al., 2015).
- Tip: Hold onto a chair for balance if needed, and don’t let knees collapse inward.
3. Pilates Roll-Up
- What It Does: Stretches the spine and strengthens the core, reducing back pain for cyclists or rowers with repetitive spinal strain.
- How to Do It: Lie flat, arms extended overhead. Slowly roll up to a seated position, reaching for your toes, then roll back down with control. Do 5-8 reps.
- Why It Helps: Enhances spinal flexibility and core stability, countering stress-induced tension (El Paso Back Clinic, n.d.).
- Tip: Bend knees slightly for beginners, and move slowly to avoid jerking.
4. Plank
- What It Does: Builds full-body strength, especially core and shoulders, to support posture for sports like tennis or swimming.
- How to Do It: Start in a push-up position, forearms on the ground, elbows under shoulders. Keep your body in a straight line, core tight, for 20-30 seconds. Repeat 3 times.
- Why It Helps: Stabilizes the spine, reducing inflammation from poor posture or repetitive strain (Siler, 2000).
- Tip: Drop to your knees for a modified version, and avoid sagging hips.
5. Pilates Side-Lying Leg Lift
- What It Does: Strengthens hips and glutes, easing nerve discomfort and lower back pain for runners or basketball players.
- How to Do It: Lie on your side, legs stacked and straight. Lift your top leg slowly to hip height, then lower with control. Do 10-12 reps per side.
- Why It Helps: Stabilizes the pelvis, reducing strain on the lower spine and nerves during high-impact activities (Cunha et al., 2018).
- Tip: Place a hand on the floor for balance, and keep movements smooth to avoid jerking.
Humor: These exercises are like giving your body a standing ovation—strengthening, stretching, and telling inflammation to take a bow and exit stage left!
References
- El Paso Back Clinic. (n.d.). Pilates: Strengthen the body without pain. https://elpasobackclinic.com/pilates-strengthen-the-body-without-pain/
- Siler, B. (2000). The Pilates body: The ultimate at-home guide to strengthening, lengthening, and toning your body—without machines. Broadway Books.
- Shah, J. P., et al. (2015). Myofascial trigger points then and now: A historical and scientific perspective. https://pubmed.ncbi.nlm.nih.gov/25724849/
- Cunha, G. M., et al. (2018). The inflammatory response in the regression of lumbar disc herniation. https://pubmed.ncbi.nlm.nih.gov/30400975/
Everyday Tweaks to Kickstart Your Wellness Journey
Dr. Jimenez’s clinical insights, drawn from https://dralexjimenez.com/, emphasize small, sustainable changes to reduce inflammation and musculoskeletal issues, tailored for athletes:
- Nutrition: Add bromelain-rich pineapple or supplements to your diet to fight inflammation, perfect for post-workout recovery (Hikisz & Bernasinska-Slomczewska, 2021).
- Movement: Incorporate 10-15 minutes of Pilates or strength exercises daily to strengthen your core and improve posture, helping athletes like runners or swimmers maintain form.
- Posture: Use proper form during workouts and set up an ergonomic workspace to counter strain from long training sessions or desk work.
- Stress Management: Practice mindfulness or deep breathing to lower cortisol and muscle tension, aiding recovery for high-intensity athletes.
- Hydration: Drink plenty of water to support tissue repair and reduce inflammation, crucial for marathoners or weightlifters.
These tweaks, combined with regular chiropractic recovery sessions, build resilience against environmental stressors like pollution or repetitive training (Chiropractic Scientist, n.d.).
Humor: Think of these tweaks as your body’s daily tune-up—like giving your car a quick oil change to keep inflammation from revving up after a tough game!
References
- Hikisz, P., & Bernasinska-Slomczewska, J. (2021). Beneficial properties of bromelain. https://pubmed.ncbi.nlm.nih.gov/34959865/
- Chiropractic Scientist. (n.d.). Injury rehabilitation and functional medicine services. https://chiropracticscientist.com/
Conclusion
This exploration of Pilates, body-strengthening exercises, and chiropractic recovery highlights a powerful, evidence-based approach to managing inflammation and musculoskeletal issues. By addressing environmental triggers and leveraging Dr. Jimenez’s integrative expertise, you can kickstart a wellness journey that promotes lasting health and mobility. These strategies empower you to counteract daily stressors, recover from injuries, and thrive in an active community like El Paso.
Disclaimer: This article is for informational purposes only and is not a substitute for professional medical advice, diagnosis, or treatment. Always consult a qualified healthcare provider before starting new exercises, supplements, or treatments, especially with existing conditions. The content draws from research and should be taken seriously for informed health decisions. Results vary, and no outcomes are guaranteed.

