Anti-Inflammatory Nutrition After Regenerative Injections
How Diet Supports Healing After PRP, PFP, MFAT, and Spinal Injections
Abstract
Regenerative procedures such as platelet-rich plasma, platelet-fibrin products, and microfragmented adipose tissue are designed to support the body’s natural repair response. Epidural spinal injections may also help control inflammation or nerve irritation so a patient can move more comfortably and participate in rehabilitation.
However, an injection is only one part of recovery. The body still needs protein, vitamins, minerals, healthy fats, water, sleep, and safe movement to repair injured tissue.
An anti-inflammatory diet may support recovery by lowering excessive background inflammation, improving blood sugar control, supplying materials for collagen production, and helping cells function properly. Patients may also need to avoid certain supplements, such as concentrated fish oil or turmeric products, around platelet-based procedures. These products should only be stopped under the direction of the treating healthcare provider.
At ChiroMed – Integrated Medicine in El Paso, Texas, nutritional support can be combined with chiropractic care, medical oversight, functional medicine, personal injury care, and active physical rehabilitation. The goal is to improve the internal healing environment while also correcting the movement problems that may continue to place stress on an injured area.
Why Nutrition Matters After an Injection
A regenerative injection is placed directly into or around an injured joint, tendon, ligament, muscle, or spinal structure. Although the treatment is local, the repair process depends on the health of the entire body.
The cells around an injured area need oxygen, amino acids, vitamins, minerals, and energy. These materials are delivered through the bloodstream. A poor diet may not completely stop a treatment from working, but it may make it harder for the body to complete the repair process.
A supportive diet may help by:
- Supplying amino acids for tissue repair
- Supporting collagen production
- Helping control excessive inflammation
- Supporting normal immune activity
- Improving blood sugar control
- Protecting healthy cells from oxidative stress
- Helping patients maintain muscle during recovery
- Supporting energy for rehabilitation exercises
Nutrition cannot guarantee that an injection will work. It also cannot replace a proper diagnosis, a safe procedure, chiropractic care, or physical rehabilitation. Nutrition is one part of a complete recovery plan.
Understanding the Different Injection Procedures
PRP, PFP, MFAT, and epidural spinal injections are not the same. Each procedure has a different purpose and may require different recovery instructions.
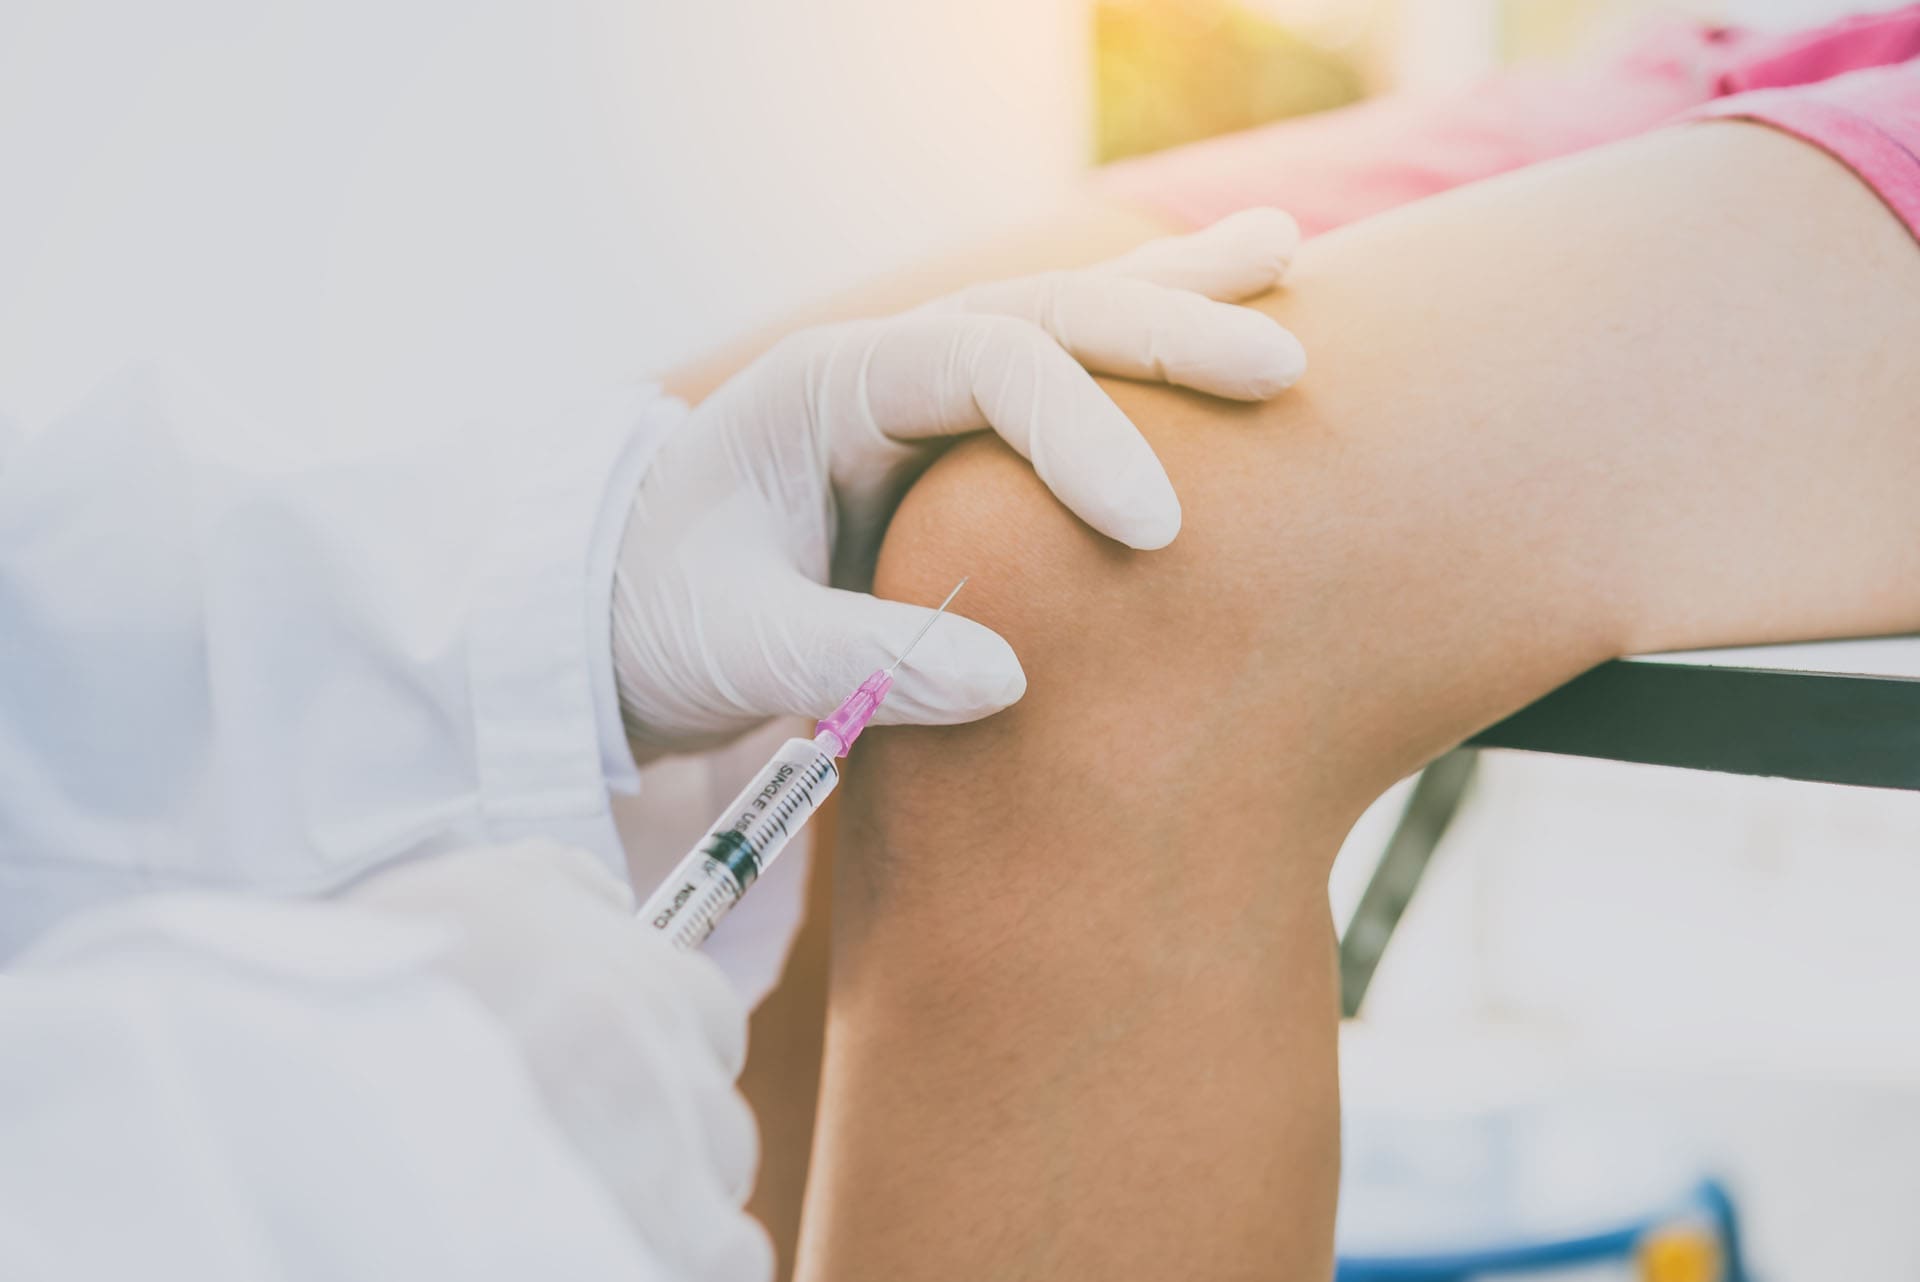
Platelet-Rich Plasma
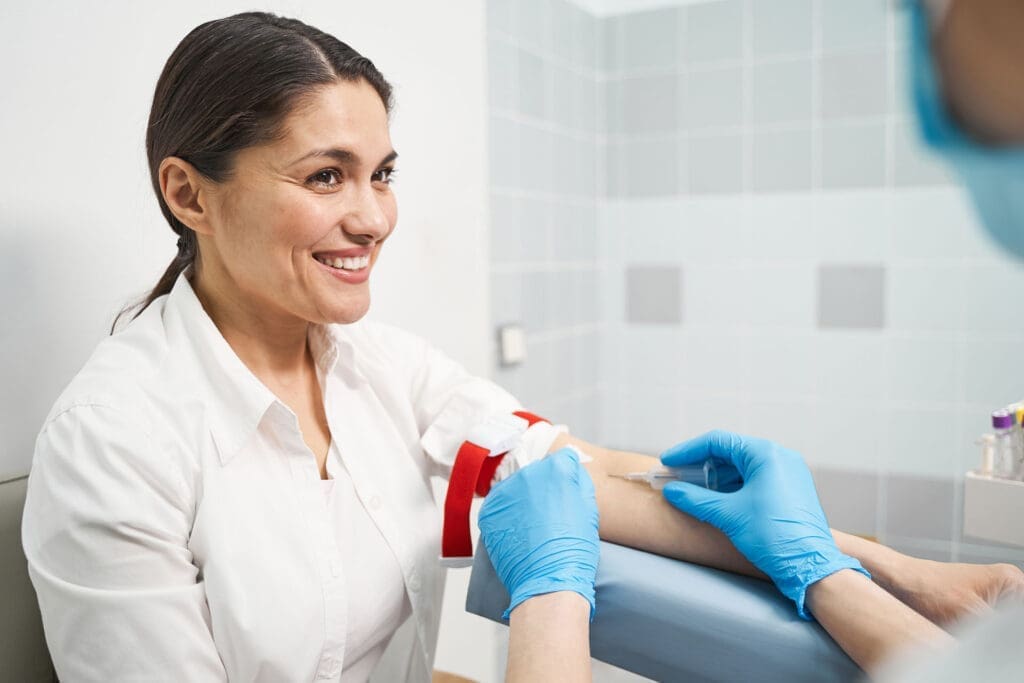
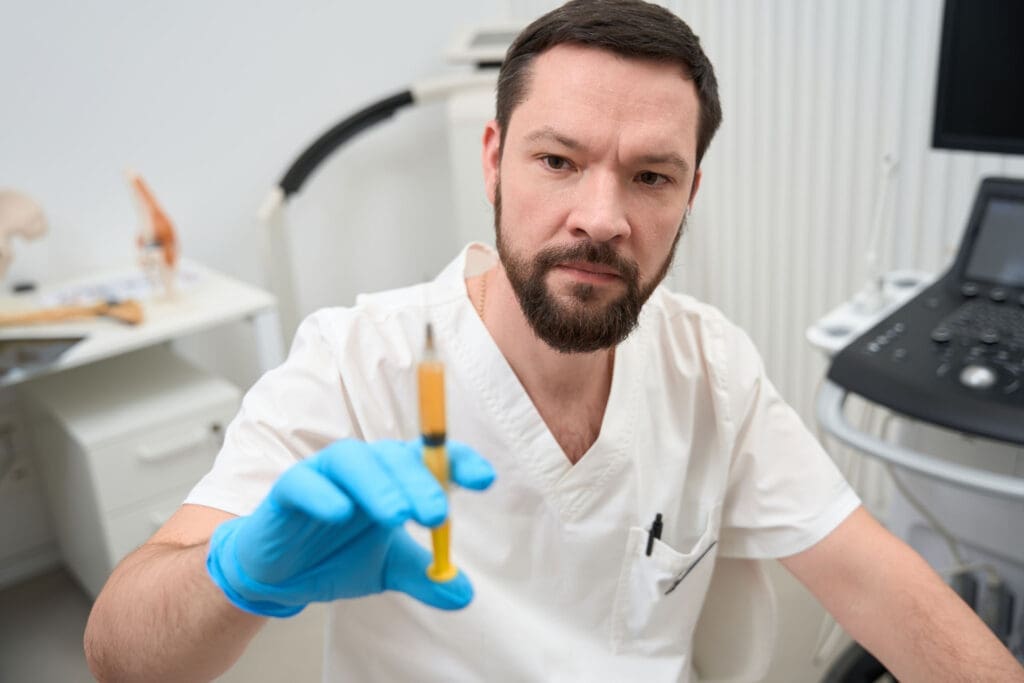
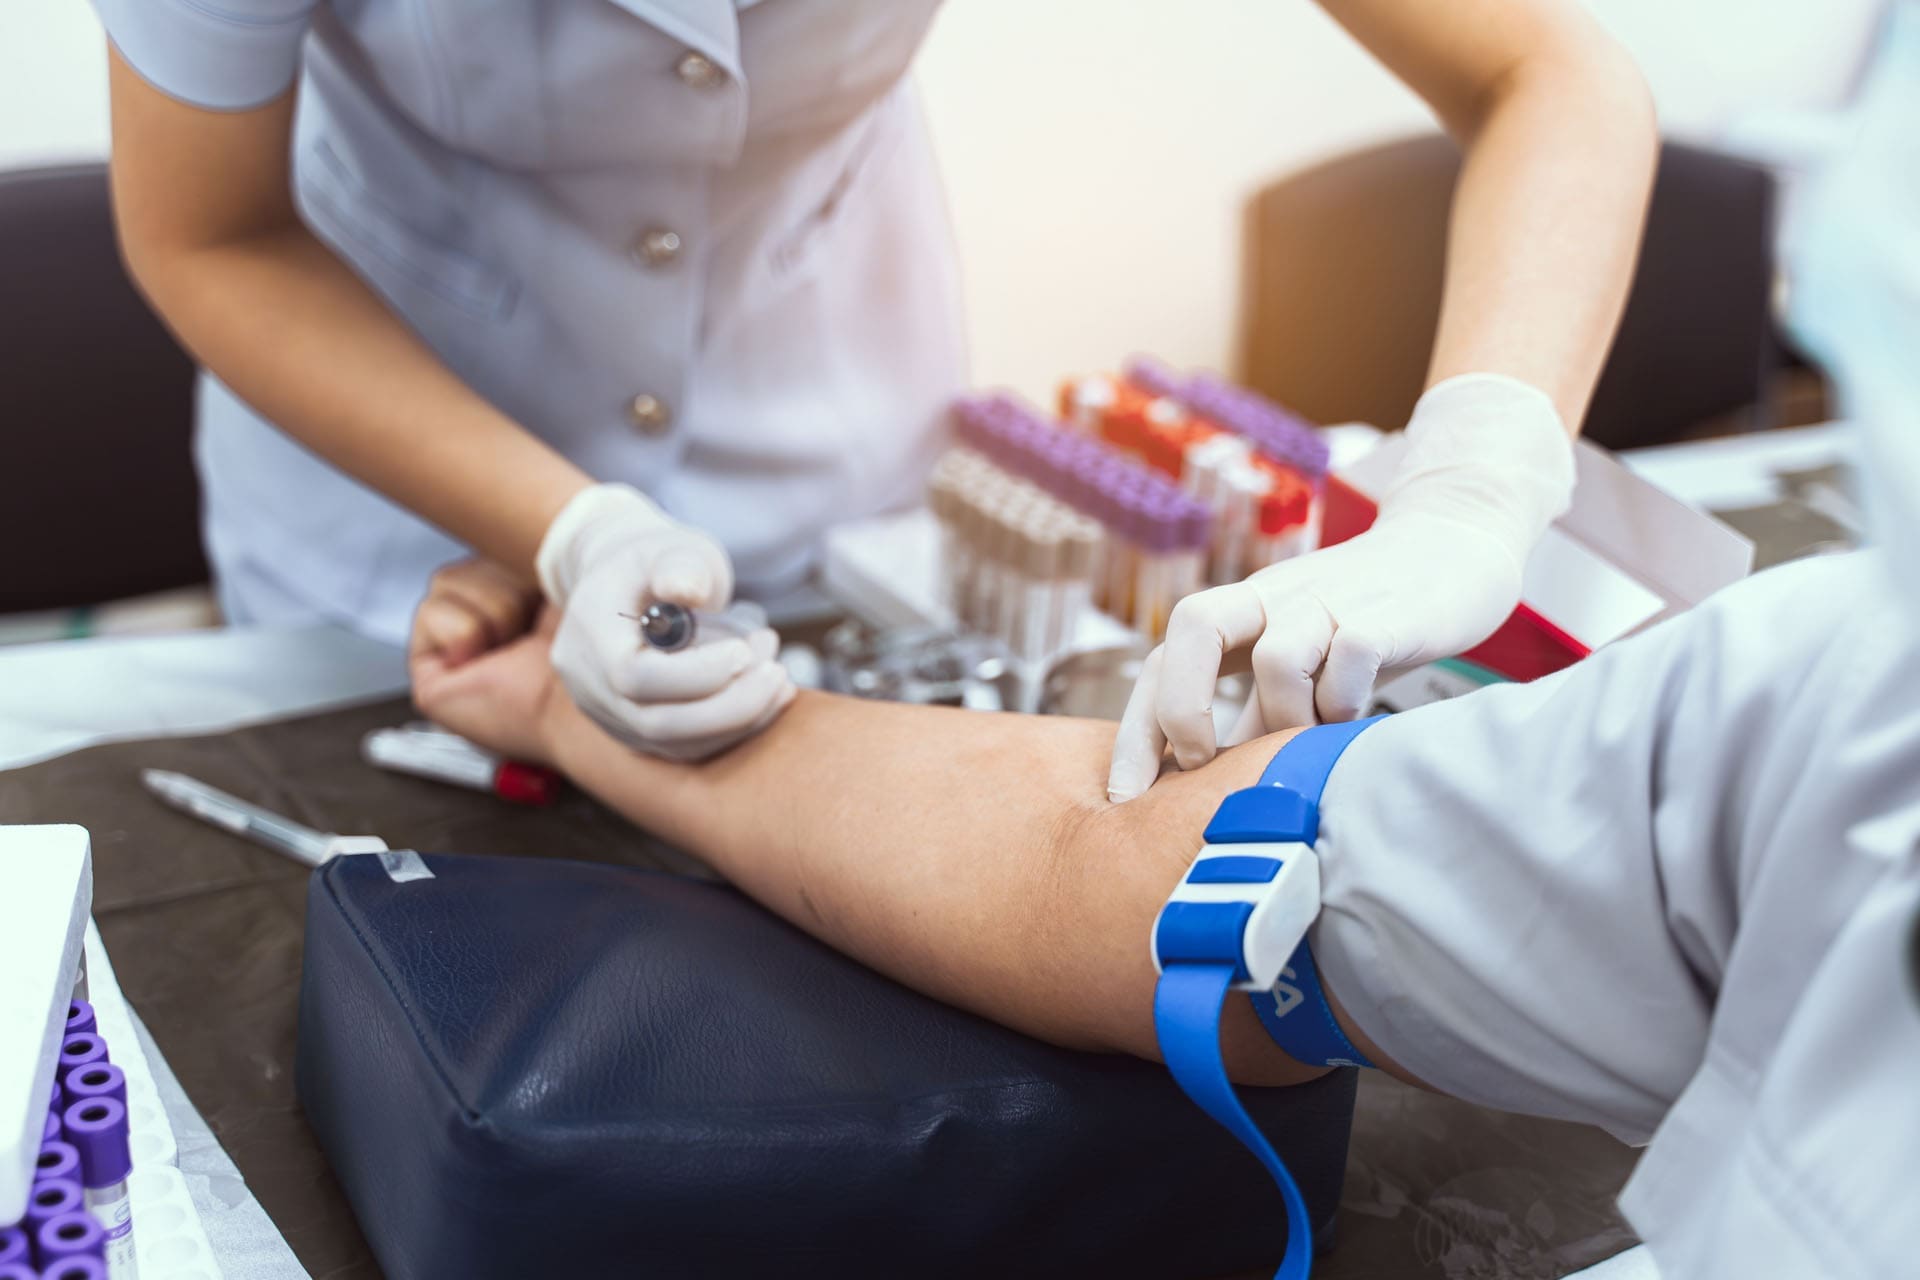
Platelet-rich plasma, or PRP, is made from the patient’s own blood. A blood sample is collected and processed to separate plasma with a higher concentration of platelets.
Platelets are best known for helping blood clot. They also release growth factors and other signals involved in tissue repair, blood vessel activity, and inflammation.
PRP has been studied for conditions such as:
- Tendon injuries
- Ligament injuries
- Joint pain
- Osteoarthritis
- Muscle injuries
- Certain spinal pain conditions
PRP products can vary. The number of platelets, the number of white blood cells, the processing system, and the injection location can all affect the final product. Research supports PRP for selected pain conditions, but outcomes depend on the diagnosis, treatment method, and individual patient (D’Souza et al., 2024).
Platelet-Fibrin Products
Platelet-fibrin products, or PFPs, use platelets along with a fibrin structure. Some of these preparations are also called platelet-rich fibrin.
Fibrin is a natural protein involved in clotting and healing. It can act like a temporary framework that holds platelets and repair signals near the treatment area.
Depending on how the product is prepared, platelet-fibrin products may release biological signals differently from liquid PRP. Patients should ask their provider what type of platelet product is being used and what recovery instructions apply to that product.
Microfragmented Adipose Tissue
Microfragmented adipose tissue, or MFAT, is made from a small amount of the patient’s own fat tissue. The fat is collected, cleaned, and processed into smaller sections before being placed into the treatment area.
Adipose tissue contains a natural structural framework and several types of cells that may influence the local healing environment. MFAT has been studied most often for joint and musculoskeletal conditions, including knee osteoarthritis.
MFAT should not be described as a guaranteed cure or a replacement for every type of surgery. Results vary, and patients need a full medical and musculoskeletal evaluation before treatment.
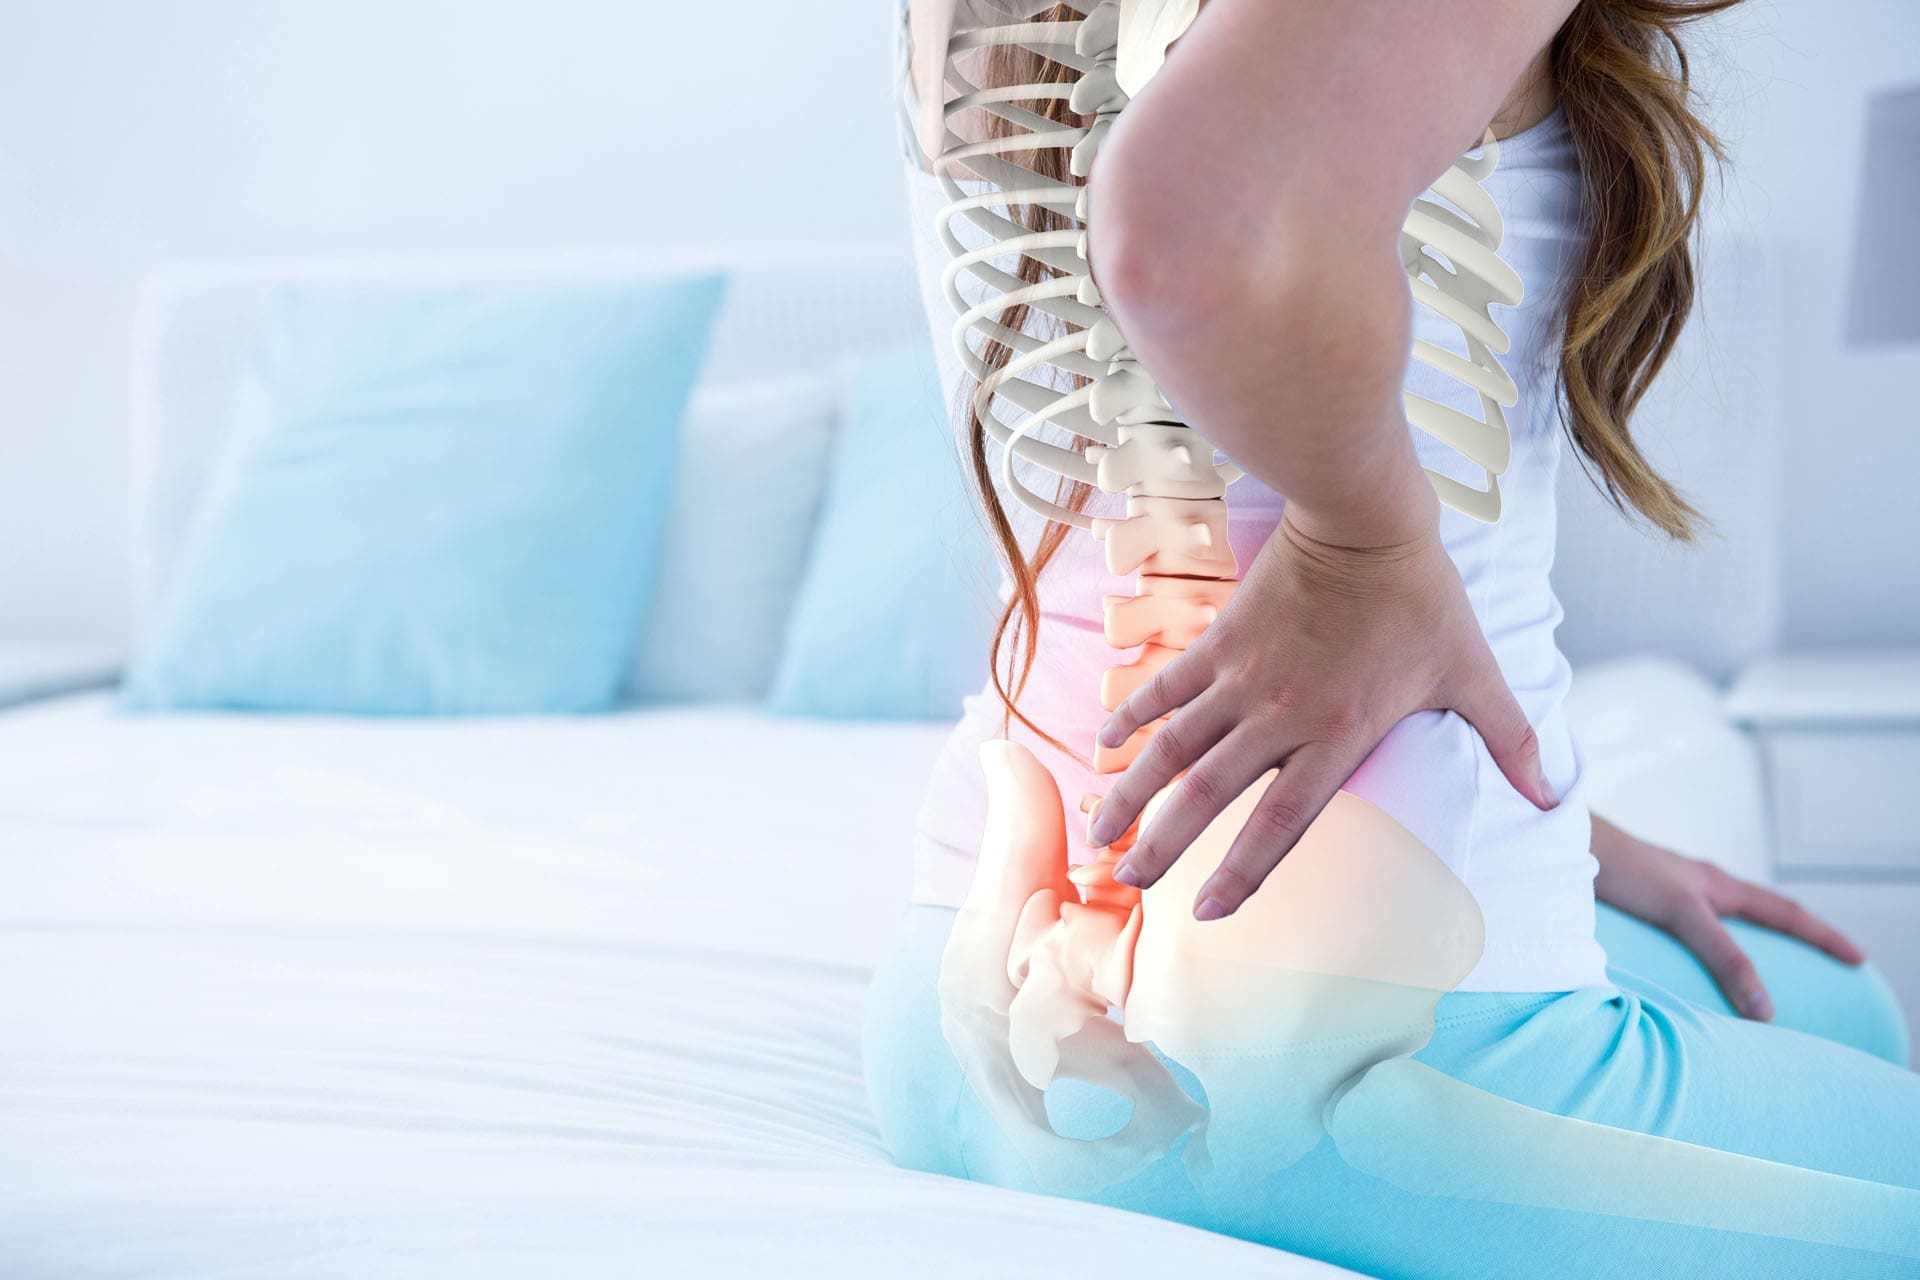
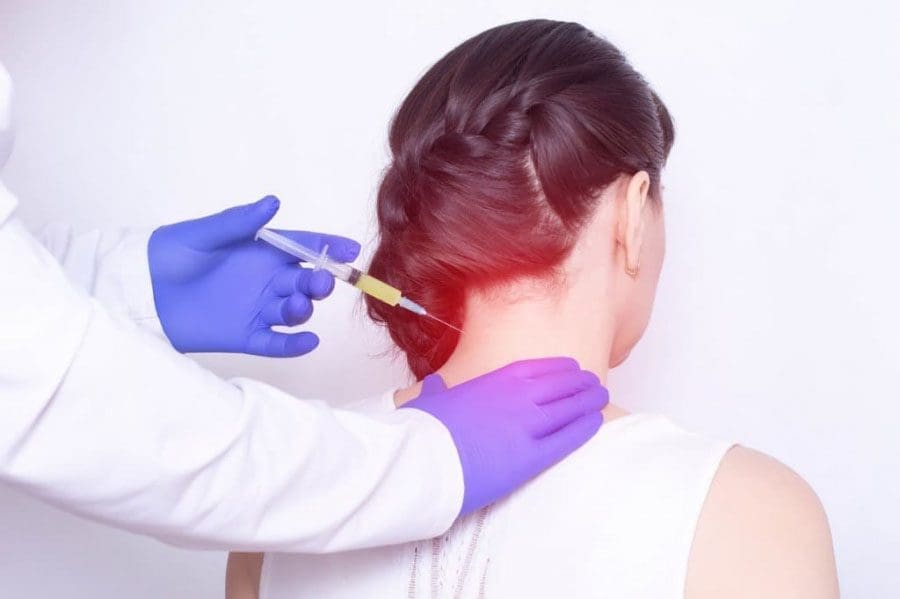
Epidural Spinal Injections
Traditional epidural spinal injections usually contain a corticosteroid, sometimes combined with a local anesthetic. The medication is placed near an irritated spinal nerve to help reduce inflammation and radiating pain.
These injections may be used for conditions such as:
- Sciatica
- Lumbar radiculopathy
- Cervical radiculopathy
- Disc-related nerve irritation
- Spinal stenosis
A traditional steroid epidural injection is not the same as PRP or MFAT. Its main purpose is usually to reduce inflammation and nerve irritation rather than stimulate tissue rebuilding.
Some specialists also study epidural PRP and other platelet products for selected spinal conditions. Current guidelines state that these procedures may help certain patients, but the evidence is still developing, and careful patient selection is needed (D’Souza et al., 2024).
How an Anti-Inflammatory Diet Supports Healing
Inflammation is a normal part of healing. The body uses a controlled inflammatory response to remove damaged material and begin tissue repair.
The goal of an anti-inflammatory diet is not to stop all inflammation. Instead, it is to reduce ongoing background inflammation caused by poor nutrition, unstable blood sugar, smoking, excessive alcohol, lack of sleep, or certain chronic health conditions.
A healthier internal environment may allow the body to respond to treatment more effectively.
Protein Supplies the Building Blocks
Protein is especially important after an injury or procedure. The digestive system breaks protein down into amino acids, which the body uses to build and repair tissue.
Protein supports the formation of:
- Collagen
- Muscle fibers
- Tendons
- Ligaments
- Enzymes
- Immune proteins
- Connective tissue
Helpful protein sources include:
- Chicken and turkey
- Fish
- Eggs
- Lean beef
- Greek yogurt
- Cottage cheese
- Beans
- Lentils
- Tofu
- Low-sugar protein drinks
Patients may benefit from including protein at each meal instead of eating most of it at one time.
People with kidney disease, liver disease, or other medical conditions should speak with their medical provider before increasing protein intake.
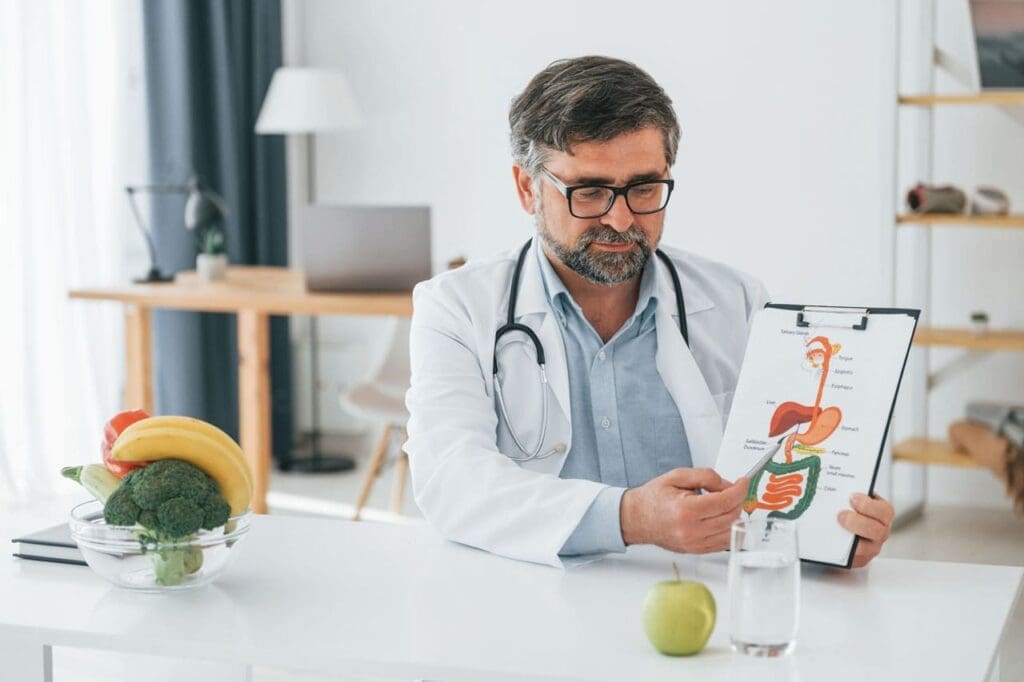
Colorful Produce Supports Collagen and Cell Health
Fruits and vegetables provide vitamins, minerals, antioxidants, and plant nutrients.
Vitamin C is especially important because the body needs it to produce collagen. Collagen gives structure to tendons, ligaments, cartilage, skin, and other connective tissues.
Good sources of vitamin C include:
- Bell peppers
- Broccoli
- Strawberries
- Kiwi
- Oranges
- Grapefruit
- Tomatoes
- Leafy green vegetables
Different colors often represent different plant nutrients. A plate containing green, red, orange, purple, and yellow produce gives the body a wider range of nutrients.
Healthy Fats Support Cell Membranes
Healthy fats are used to build cell membranes and produce chemical signals in the body.
Helpful food sources include:
- Extra-virgin olive oil
- Avocados
- Walnuts
- Chia seeds
- Flax seeds
- Salmon
- Sardines
Whole-food sources of fat are different from concentrated supplements. Eating salmon does not deliver the same dose as taking several high-strength fish-oil capsules.
Fiber and Blood Sugar Control
Frequent blood sugar spikes may contribute to an inflammatory internal environment. Meals containing protein, fiber, and healthy fats are usually digested more slowly than meals made mostly from sugar or refined flour.
High-fiber carbohydrate choices include:
- Oatmeal
- Beans
- Lentils
- Quinoa
- Brown rice
- Sweet potatoes
- Whole-grain products
- Vegetables
- Whole fruit
Patients with diabetes or prediabetes may need an individualized nutrition and medication plan. Blood sugar should be monitored according to the medical provider’s instructions.
Hydration Helps Move Nutrients
Water supports blood volume, circulation, digestion, and the movement of nutrients into tissues.
Dehydration may contribute to fatigue, headaches, constipation, and reduced exercise tolerance. Patients undergoing a blood-based procedure should follow the clinic’s instructions about eating, drinking, and fasting.
People with heart disease, kidney disease, or a fluid restriction should follow their medical provider’s hydration recommendations rather than a general online formula.
Foods to Limit During Recovery
A healing diet does not need to be perfect. The main goal is to make whole, nutrient-rich foods the foundation of most meals.
Foods and drinks to limit include:
- Sugary sodas
- Energy drinks
- Candy
- Frequent desserts
- White bread
- Pastries
- Deep-fried foods
- Processed meats
- Packaged snack foods
- Excessive alcohol
- Foods containing trans fats
These foods may replace the protein, fiber, vitamins, and minerals the body needs for recovery.
Alcohol can also interfere with hydration, sleep, judgment, blood sugar, and normal platelet activity. Patients should ask their procedure provider when it is safe to drink alcohol again.
Smoking and nicotine should also be addressed. Nicotine can reduce blood flow to healing tissue and may interfere with normal recovery.
Supplements to Discuss Before PRP or PFP
Patients sometimes hear that turmeric and omega-3 products are anti-inflammatory and should be used after an injury. However, concentrated supplements may not always be appropriate around platelet-based procedures.
PRP and PFP depend on normal platelet activation. Some providers may ask patients to temporarily avoid products that could change platelet function.
Fish Oil and Omega-3 Supplements
Omega-3 fatty acids can affect platelet aggregation. However, research has generally not found a major increase in clinical bleeding from standard fish-oil supplementation. High-dose purified products may require more caution, especially when combined with anticoagulant or antiplatelet medicines.
Patients should not assume that all omega-3 foods must be avoided. Fish, walnuts, flax seeds, and chia seeds may still be included unless the treating provider gives different instructions.
The decision to pause a supplement depends on:
- The dose
- The type of injection
- The treatment location
- The patient’s medical history
- Other medications
- The provider’s procedure protocol
Turmeric and Curcumin
Turmeric used in cooking is different from a concentrated curcumin supplement.
Laboratory and review studies suggest that curcumin can influence platelet activation and aggregation. Because PRP uses platelets as part of the treatment, some providers ask patients to pause high-dose turmeric or curcumin supplements before and after the procedure.
There is no single stopping schedule that applies to every patient. The treating provider should give written instructions based on the procedure and the patient’s medication list.
NSAIDs and Prescription Medicines
Nonsteroidal anti-inflammatory drugs include:
- Ibuprofen
- Naproxen
- Aspirin
- Diclofenac
- Meloxicam
- Celecoxib
These medications do not all affect platelets in the same way. Some studies suggest that certain NSAIDs may reduce platelet activity or change the quality of a PRP preparation. However, research is not completely consistent, and protocols vary between clinics.
Patients should never stop aspirin, blood thinners, heart medications, or prescription anti-inflammatory medicines without approval from the prescribing clinician.
Preventing a stroke, heart attack, or blood clot is more important than following a general internet checklist.
Before treatment, patients should provide a complete list of:
- Prescription medicines
- Over-the-counter pain relievers
- Vitamins
- Fish oil
- Turmeric or curcumin
- Herbal products
- Pre-workout products
- Weight-loss supplements
- Hormone products
A Simple Healing Plate
A practical meal can be divided into four sections:
- Protein: Chicken, fish, eggs, beans, tofu, or lean meat
- Vegetables or fruit: Berries, broccoli, spinach, peppers, carrots, or tomatoes
- Fiber-rich carbohydrate: Oats, beans, quinoa, brown rice, or sweet potato
- Healthy fat: Olive oil, avocado, nuts, or seeds
A simple day might include:
Breakfast
Eggs with spinach, oatmeal, and berries.
Lunch
Grilled chicken with brown rice, mixed vegetables, and avocado.
Snack
Greek yogurt with fruit or an apple with almonds.
Dinner
Salmon with sweet potato, broccoli, and olive oil.
The best plan is one the patient can follow consistently and safely.
Combining Regenerative Care With Chiropractic Treatment
An injection may address inflammation or biological repair, but it does not automatically correct the mechanical cause of an injury.
A patient may still have:
- Poor joint movement
- Muscle weakness
- Reduced flexibility
- Spinal stiffness
- Poor posture
- Limited balance
- Unsafe lifting habits
- Abnormal movement patterns
At ChiroMed, chiropractic care can be coordinated with rehabilitation and medical support rather than treated as a separate service. ChiroMed’s care model includes chiropractic spine and joint care, physical rehabilitation, functional medicine support, nutritional guidance, medical assessment, and regenerative options when appropriate.
Chiropractic and rehabilitation services may include:
- Chiropractic adjustments
- Gentle joint mobilization
- Soft-tissue treatment
- Spinal decompression
- Corrective exercises
- Core and stability training
- Posture correction
- Movement retraining
- MLS laser therapy
- Shockwave therapy
Treatment timing matters. A newly injected area may need a short period of protection before direct treatment or strengthening begins. The injection provider and rehabilitation team should coordinate the plan.
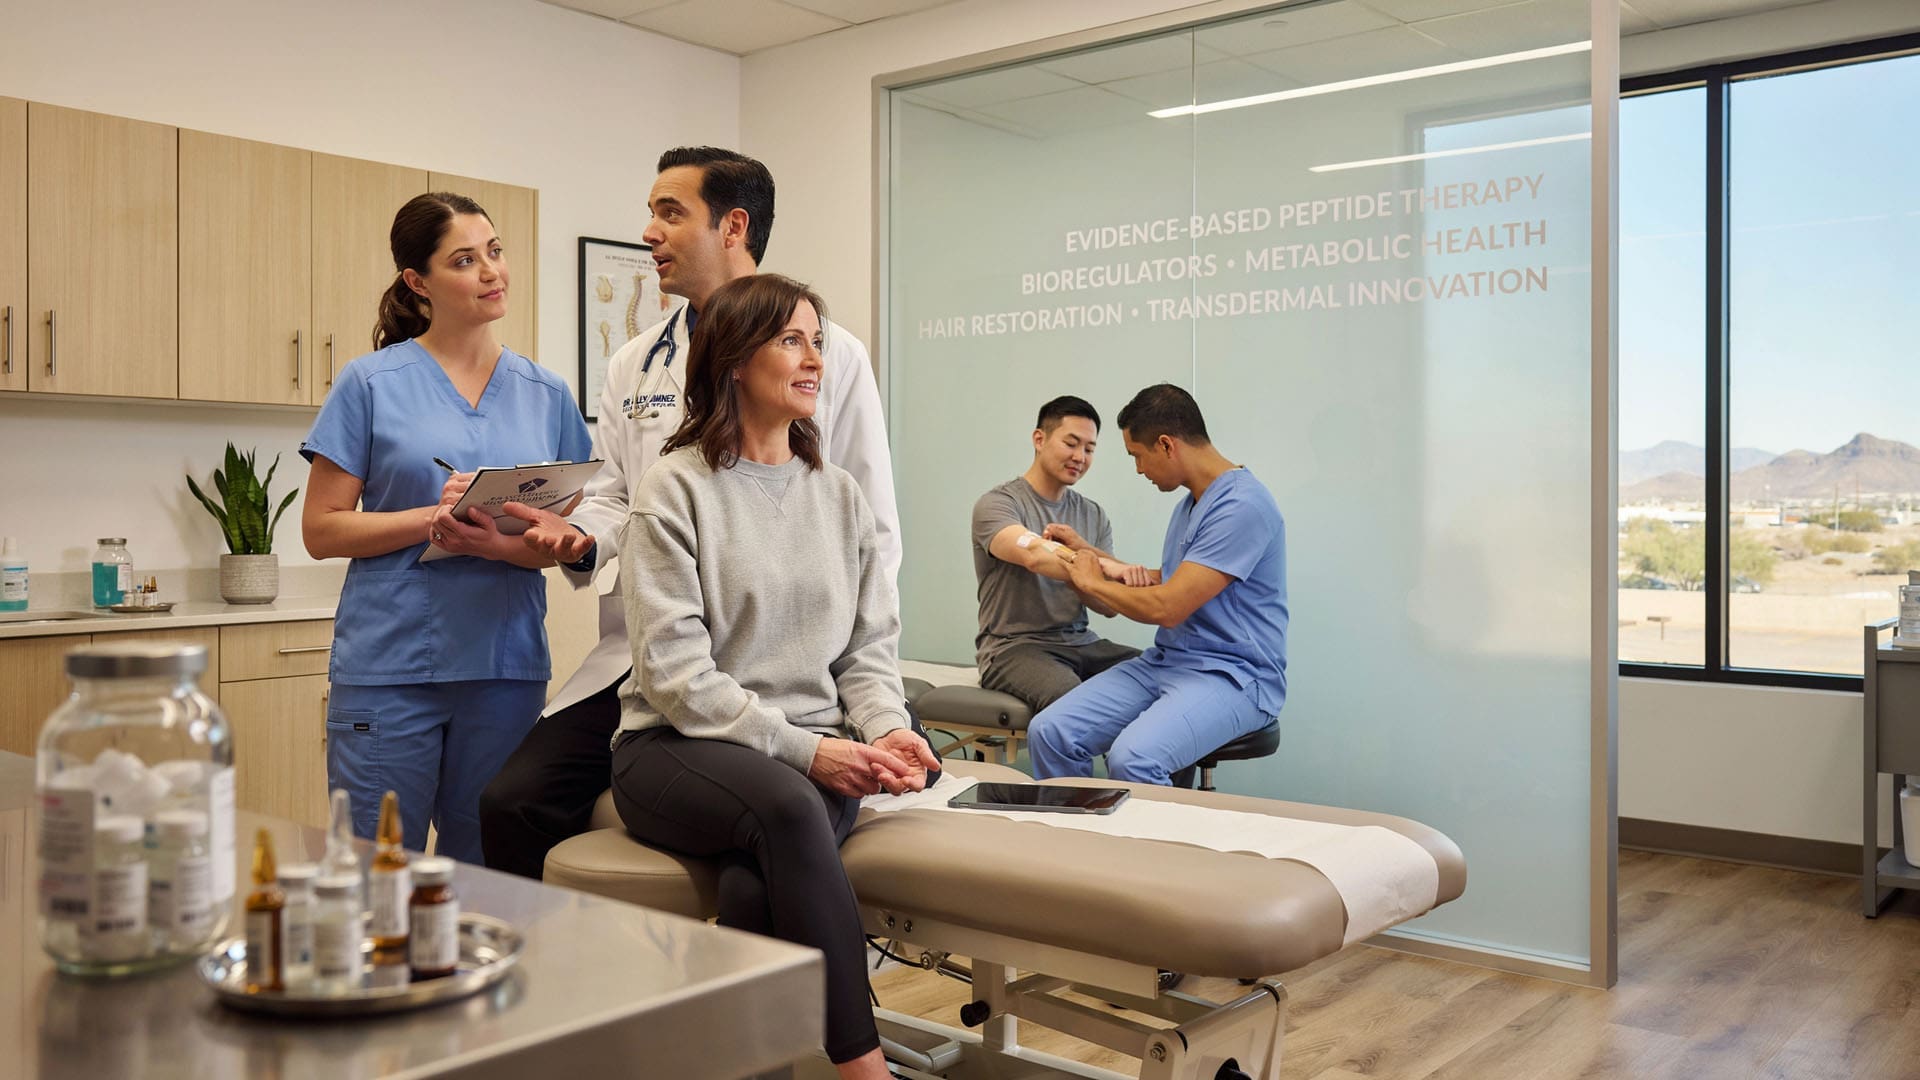
ChiroMed’s Multidisciplinary Approach in El Paso
ChiroMed – Integrated Medicine uses a team-based approach to musculoskeletal, personal injury, and wellness care in El Paso, Texas.
Dr. Alexander Jimenez, DC, APRN, FNP-BC, CCST, CFMP, IFMCP, ATN, leads chiropractic, functional medicine, personal injury, and rehabilitation services. He is licensed as both a chiropractor and an advanced practice nurse practitioner. ChiroMed describes its model as addressing the whole person instead of focusing only on one painful body part.
Dr. Maria Guadalupe Cardenas, MD, works with Dr. Jimenez as the Medical Director and Collaborative Physician at Injury Medical Clinic PA. She is board-certified in internal medicine and has more than 40 years of experience as an internist.
Public provider information lists Dr. Cardenas’s NPI as 1164426748. Clinic materials list Texas medical license J2933. The number 1164426749 provided in some materials appears to be a typographical error.
This multidisciplinary structure allows the team to coordinate:
- Medical evaluation and oversight
- Chiropractic care
- Functional medicine
- Nutritional support
- Personal injury treatment
- Active physical rehabilitation
- Musculoskeletal care
- Laboratory testing when appropriate
- Coordination with regenerative and pain-management providers
Medical oversight can be especially important when a patient has diabetes, cardiovascular disease, kidney problems, anemia, medication interactions, or other conditions that may affect healing.
Clinical Observations From Dr. Alexander Jimenez
In his clinical observations, Dr. Jimenez emphasizes that successful recovery often requires both biological support and mechanical correction.
The biological side may include nutrition, sleep, blood sugar control, hydration, medical treatment, and regenerative procedures.
The mechanical side may include improving spinal alignment, joint movement, muscle strength, balance, and posture.
An injection may help an irritated tendon or joint, but the injured area may continue to be stressed if the patient returns to the same movement pattern without rehabilitation. Chiropractic care and corrective exercise can help improve how the body moves after the early healing period.
These observations can help guide an individualized care plan. However, clinical observations do not guarantee a particular result and do not replace published research.
Supporting Recovery From the Inside Out
An anti-inflammatory diet may support recovery after PRP, PFP, MFAT, or an epidural spinal injection by providing the nutrients needed for normal cellular repair.
The most important steps include:
- Eating enough protein
- Choosing colorful fruits and vegetables
- Including healthy fats
- Drinking enough water
- Limiting sugar and heavily processed foods
- Avoiding smoking
- Limiting alcohol
- Reviewing supplements with the treating provider
- Following procedure-specific medication instructions
- Completing the recommended rehabilitation plan
Nutrition does not replace regenerative medicine, chiropractic care, medical oversight, or rehabilitation. It supports the environment in which those treatments must work.
At ChiroMed in El Paso, the goal is to combine medical knowledge, chiropractic care, nutrition, functional medicine, and active rehabilitation. This coordinated approach can help patients move better, manage inflammation, and build a stronger foundation for long-term recovery.
References
Active Pain Relief & Wellness. (n.d.). PRP and MFAT combination therapy.
Beso Wellness and Beauty. (n.d.). Diet and lifestyle influence on PRP quality.
ChiroMed. (n.d.). About ChiroMed – Integrated Medicine.
ChiroMed. (n.d.). Integrated medicine services in El Paso, Texas.
D’Souza, R. S., Her, Y. F., Hussain, N., et al. (2024). Evidence-based clinical practice guidelines on regenerative medicine treatment for chronic pain: A consensus report from a multispecialty working group. Journal of Pain Research, 17, 2951–3001.
Hussain, Y., Abdullah, Alsharif, K. F., et al. (2022). Regulatory effects of curcumin on platelets: An update and future directions. Biomedicines, 10(12), 3180.
Javaid, M., Ashburn, N. P., Xia, Y., et al. (2024). Bleeding risk in patients receiving omega-3 polyunsaturated fatty acids: A systematic review and meta-analysis of randomized clinical trials. Journal of the American Heart Association, 13(10), e032390.
Krasnick Regenerative Medicine. (n.d.). Nutrition for regenerative healing.
Leach, T., Karkoska, K., Coladonato, M., et al. (2024). A review of platelet-rich plasma use in patients taking nonsteroidal anti-inflammatory drugs for guideline development. Cureus, 16(10), e71706.
Leiber, J. (2025, April 4). Optimizing recovery: Why nutrition and supplements matter after PRP and bone marrow concentrate procedures.
Sciatica Pain and Treatment Clinic. (2026). Anti-inflammatory nutrition supports regenerative healing.
Sonoran University of Health Sciences. (2025, March 24). A regenerative health diet: Heal, reduce inflammation, and thrive.
Ubie Health. (n.d.-a). PRP diet and healing recovery nutrition plan.
Ubie Health. (n.d.-b). Nutrition to support PRP platelets and growth factors.
Wellness Doctor Rx. (n.d.). El Paso injury and regenerative wellness treatments.
West Texas Pain Institute. (n.d.). Regenerative medicine services.